How to add Bank Account access to Legal Entity R12
&
Complete Bank Accounts setup
For Payables & Receivables
Contents
Section 1: Add Bank Account Access to Legal Entity 3
Section 2: Complete Bank Account Setup 9
Section 3: Process Payment using New Bank Account 26
Section 1: Add Bank Account Access to Legal Entity
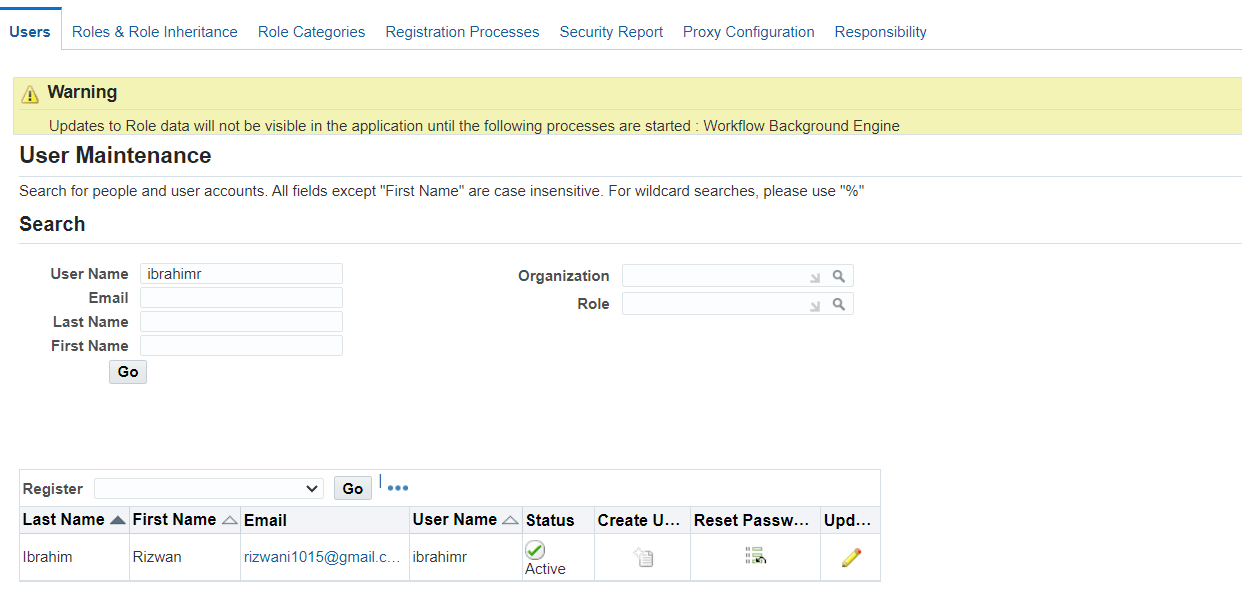
Responsibility: User Management
(N): Roles & Role Inheritance
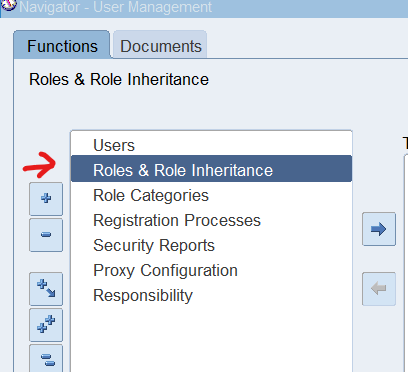
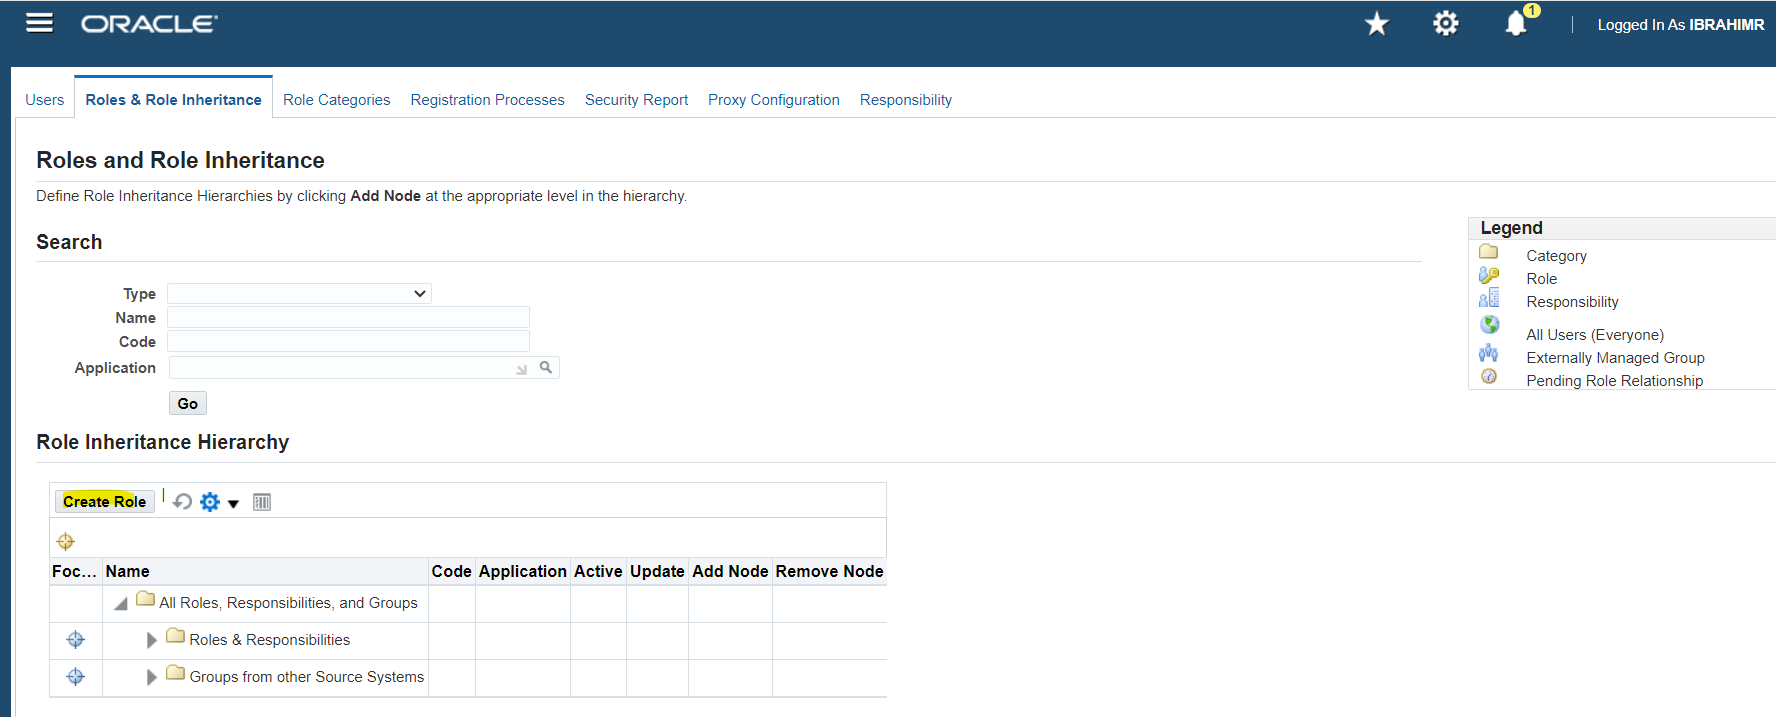
Select “Create Role”


Select “CE UMX Security Wizard

Select “Run Wizard”

Add Legal Entities

Select Legal Entity
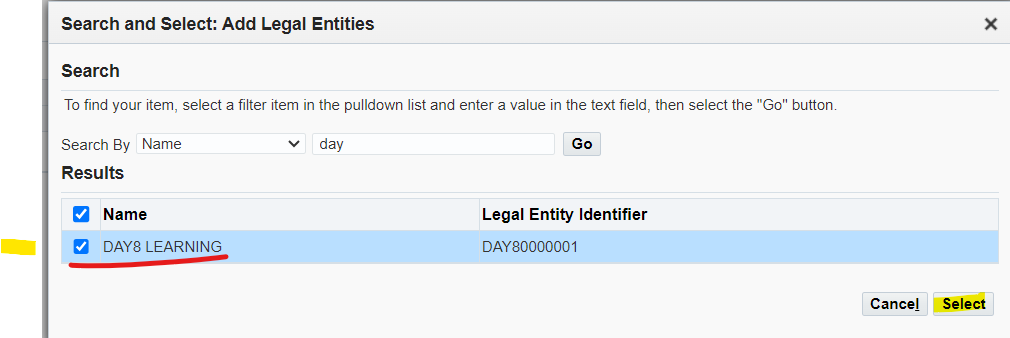

Select Usage


Apply to complete setup
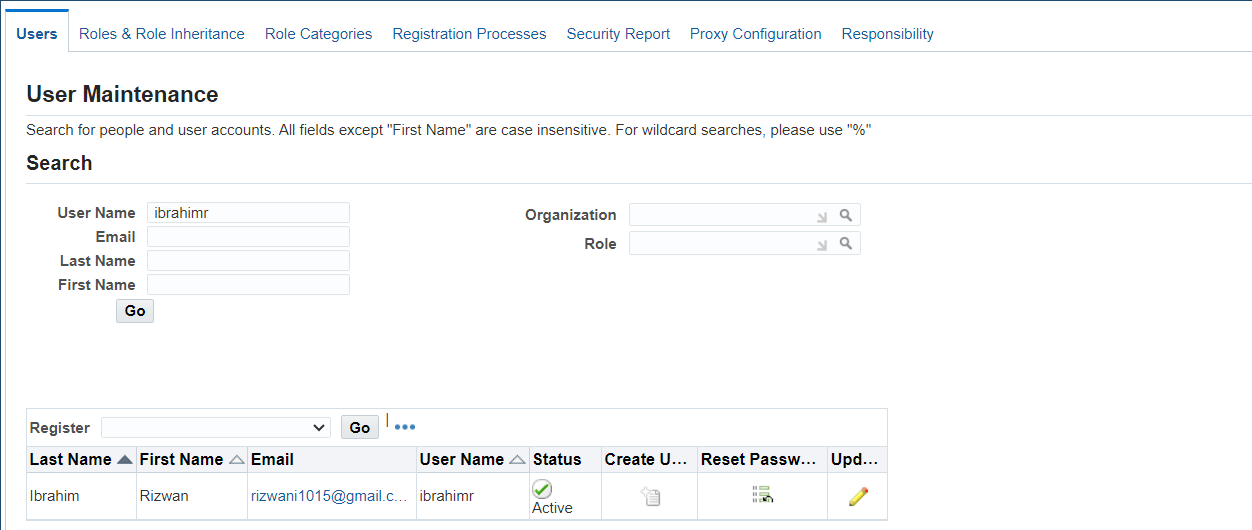
Assign new role to user
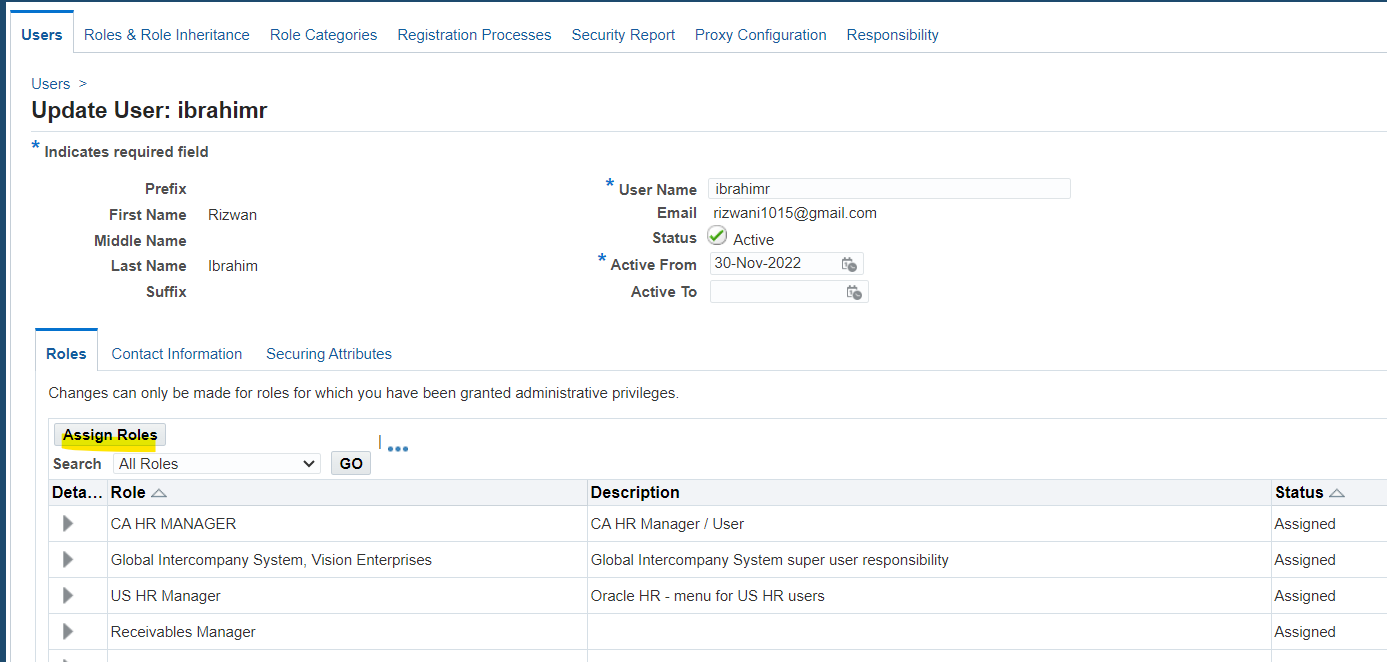
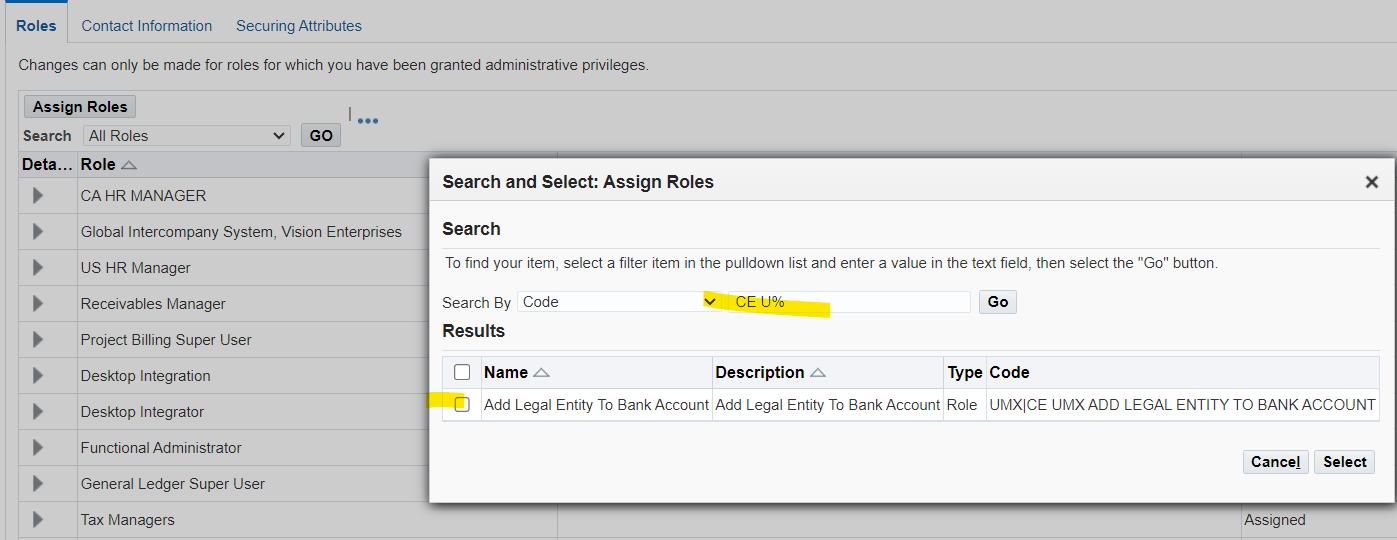
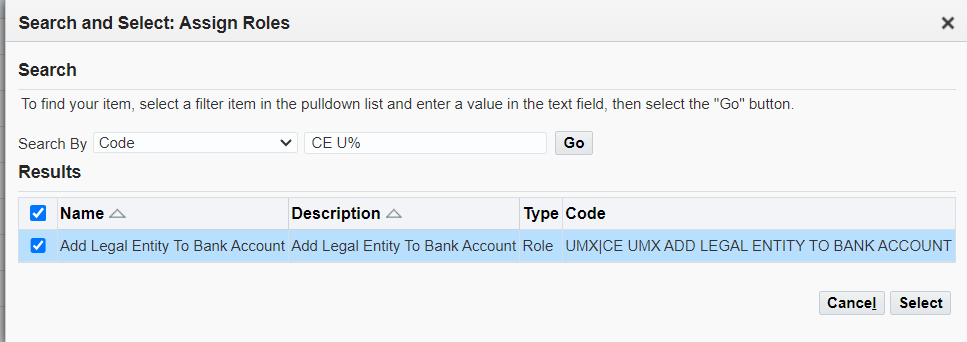
Select Role and assign to user.

Section 2: Complete Bank Account Setup
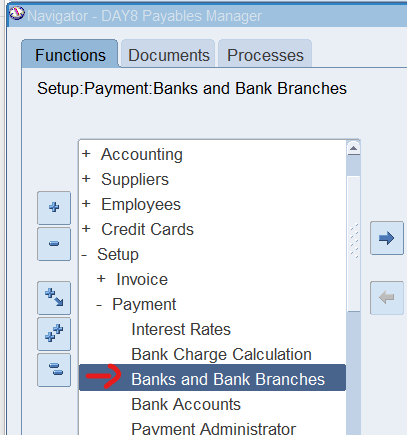
Responsibility: Payables Manager
(N) : Setup 🡪 Payment 🡪 Banks and Bank Branches
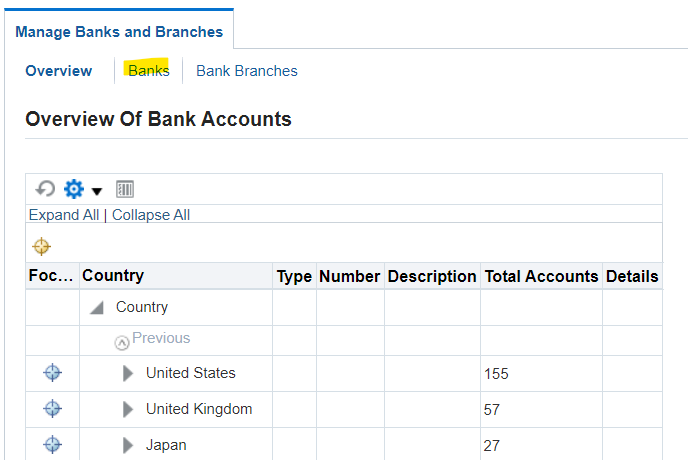
Select “Banks”

Create a new Bank or Search for existing bank
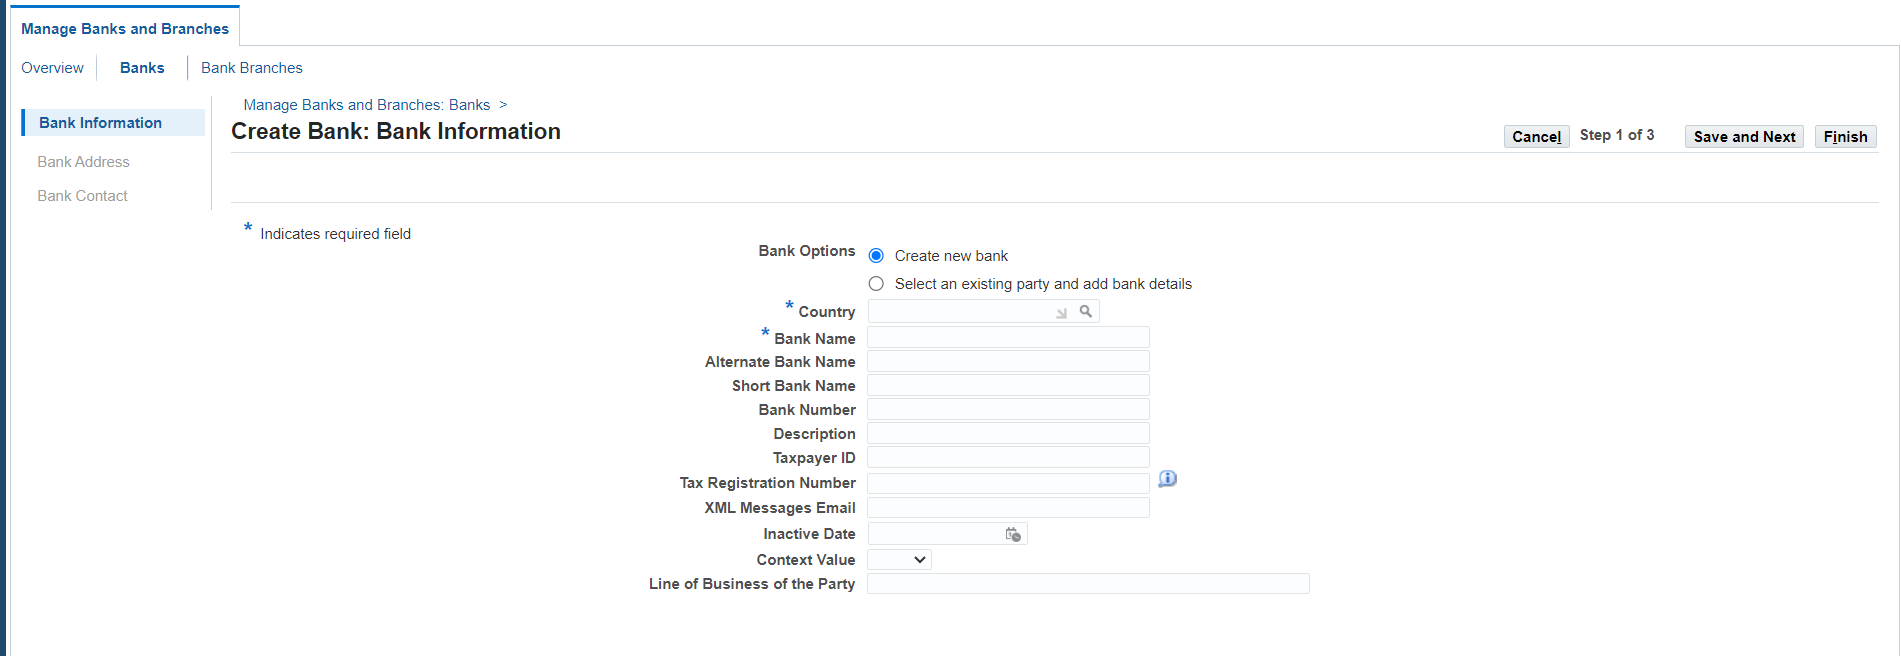
Create from existing party mean in R12 every entity related to business are refer to as party like customer, vendor or bank, in case we have to create bank setup for existing party select 2nd option.
To create a new bank select “Create New Bank”

Complete all required information, Save and Next.

Create Bank Address
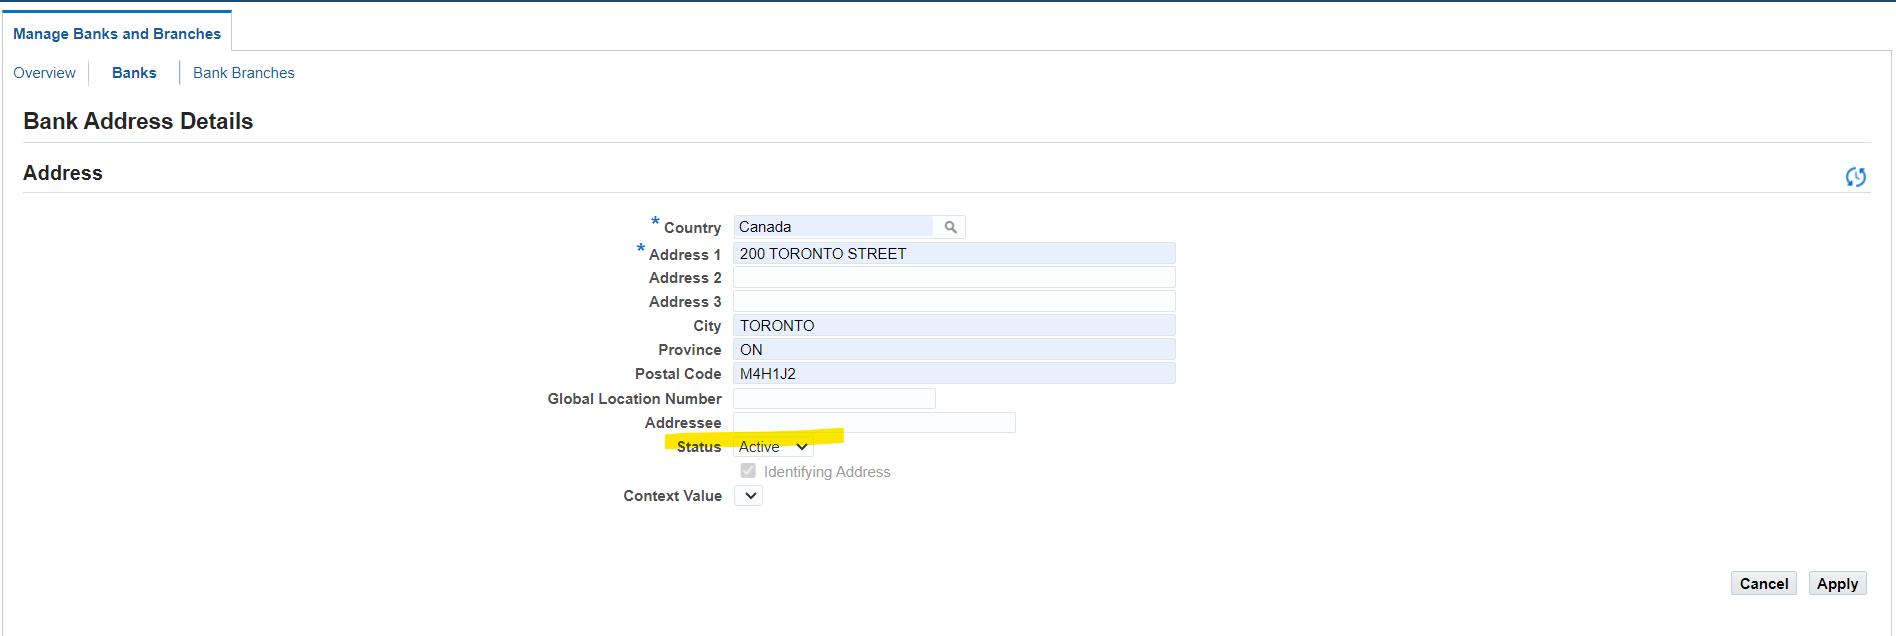
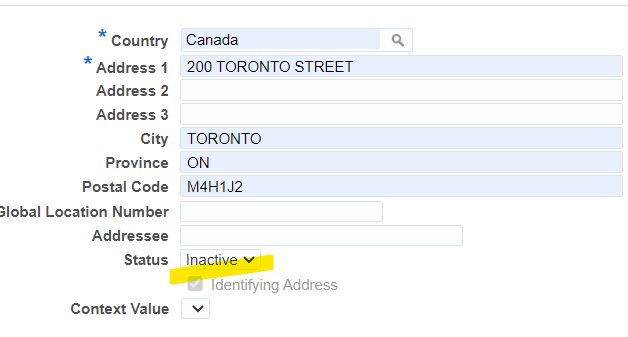
Note: In case to deactivate bank setup select status and update to “Inactive”

Select Save and Next

Create a contact information for bank branch or at the bank level.
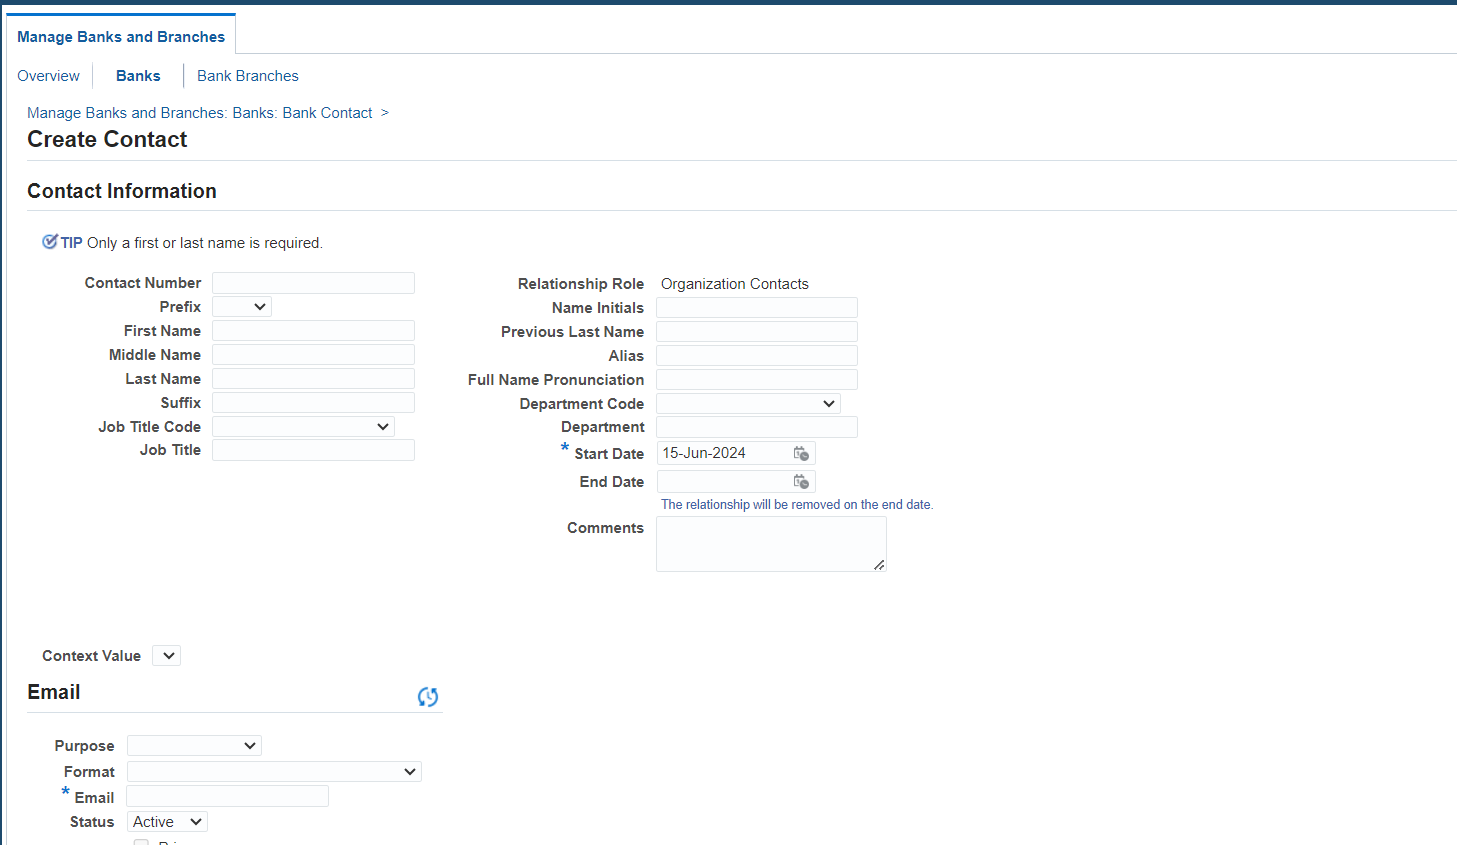
Complete all required information
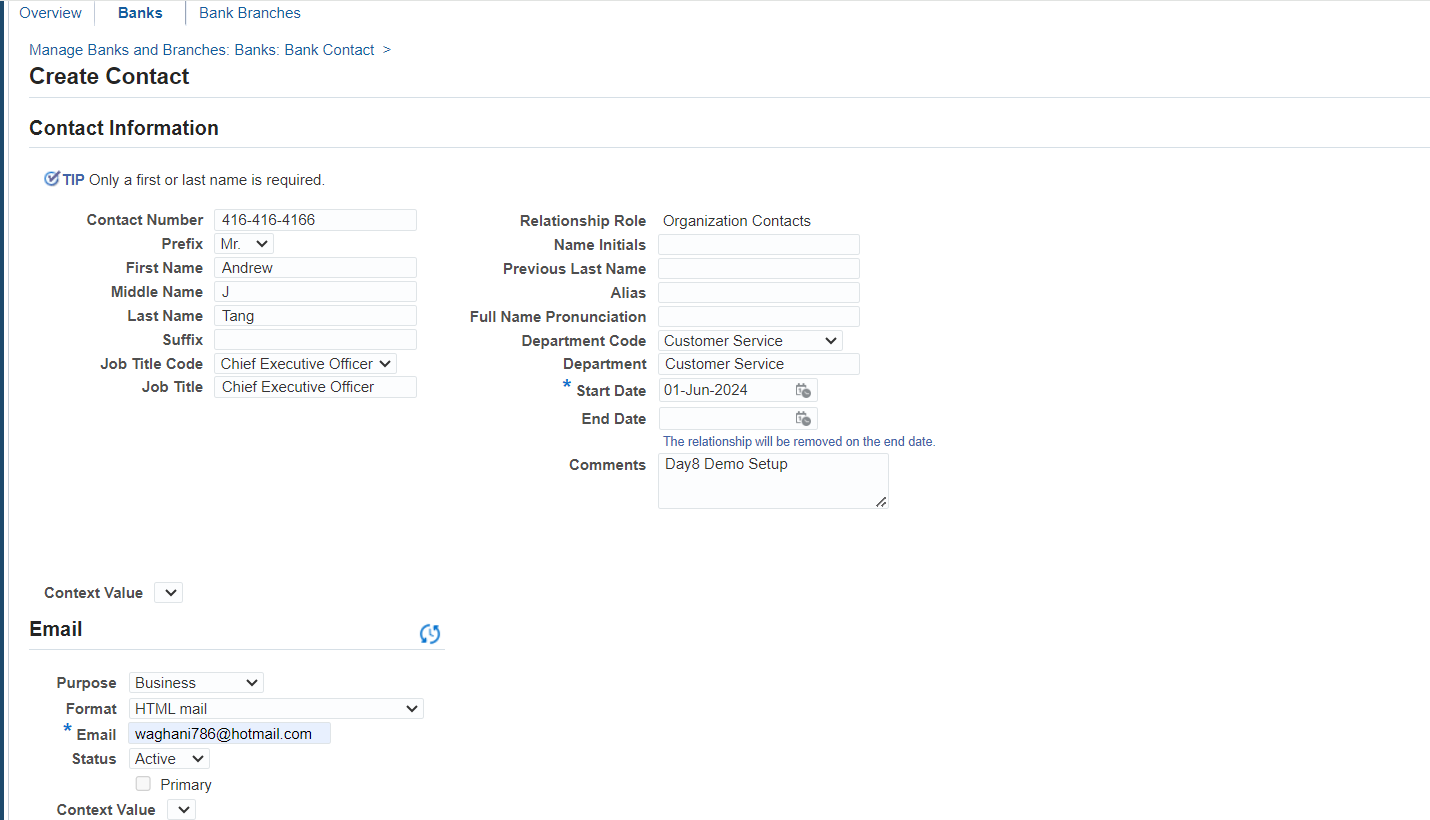

Select “Apply”

All 3 steps completed to setup a new bank in oracle R12 application

After successfully created a Bank now create a Bank Branch


Another option to select “Bank Branches”

Note: If you create branches for existing bank select bank number and bank name to first search bank details and create branches


Select Country and Bank Name to create branch
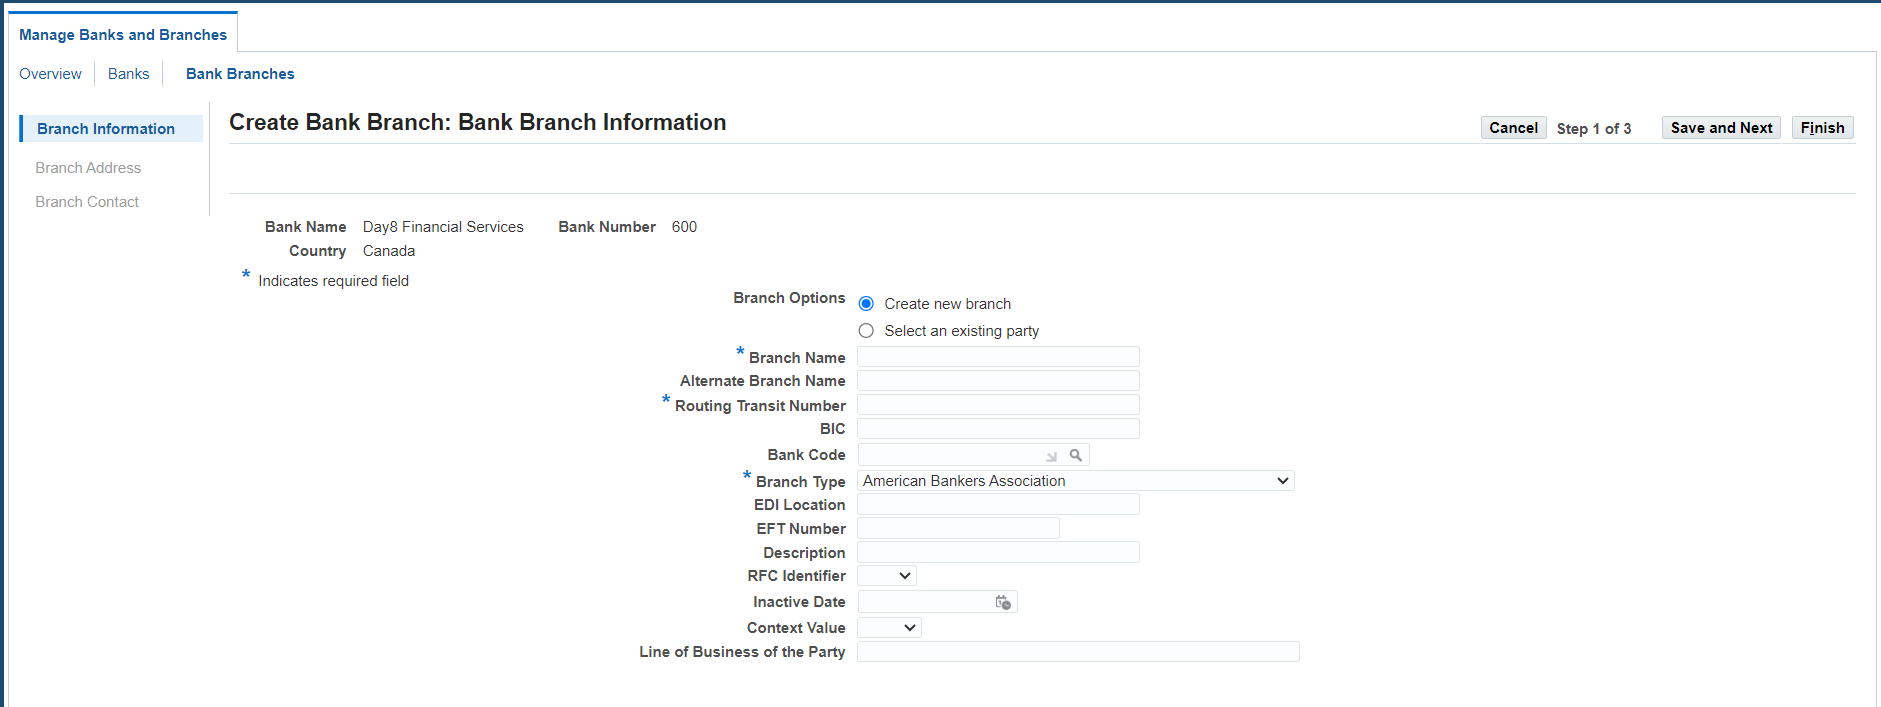
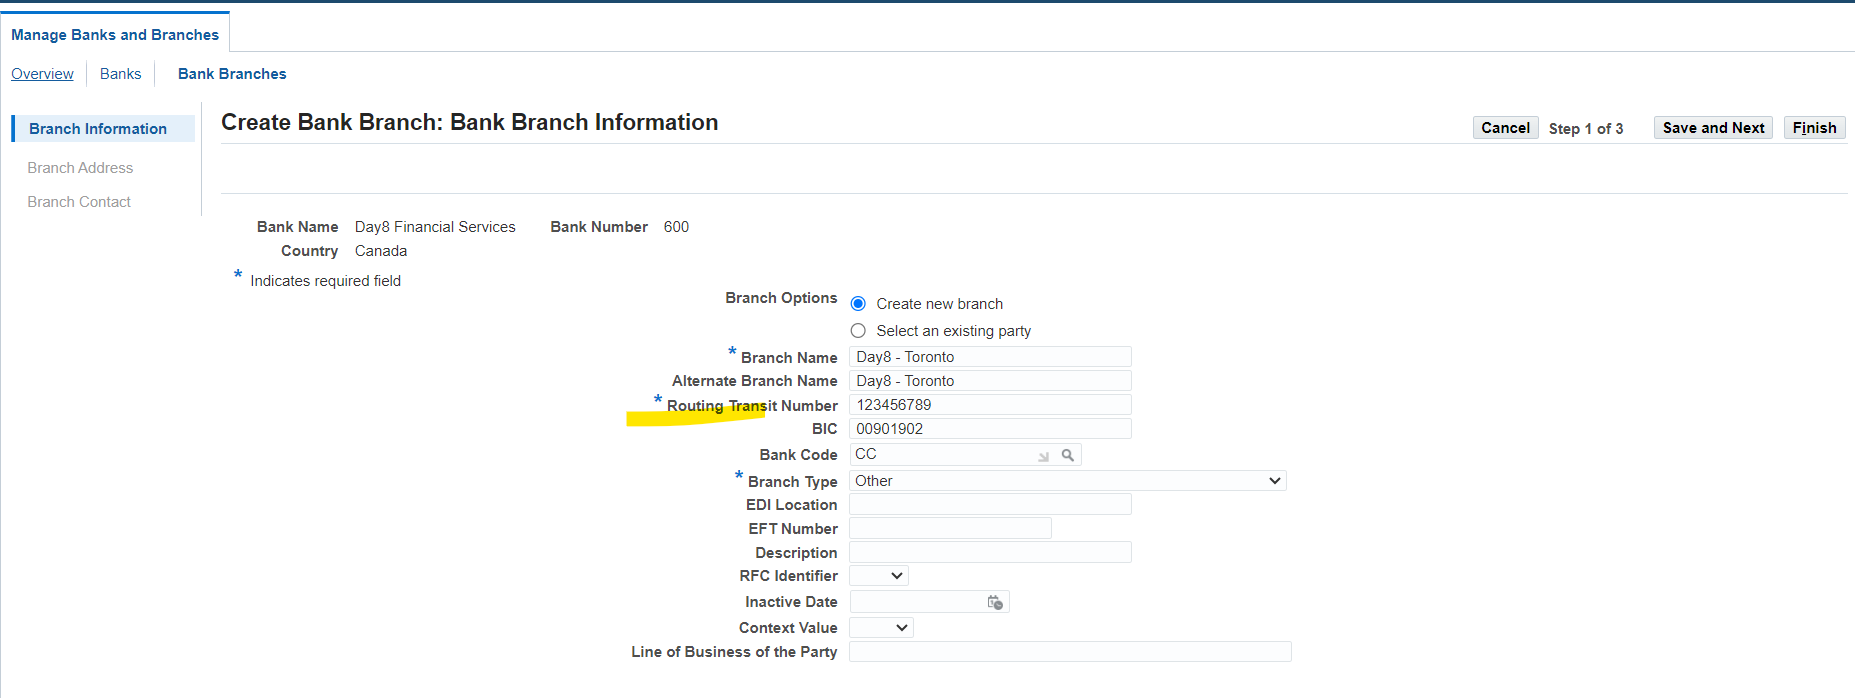
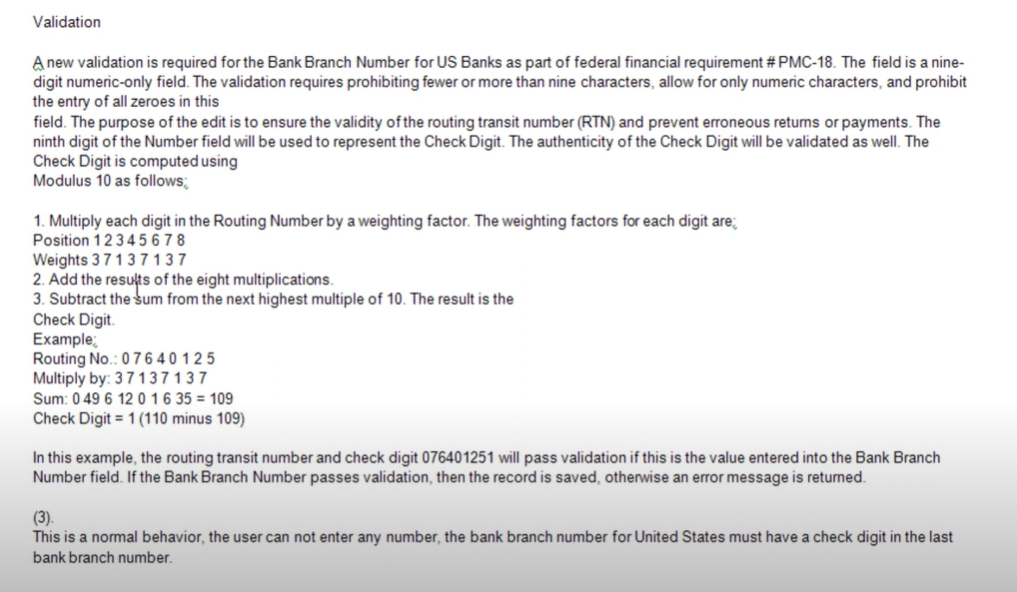
Routing Number Validation

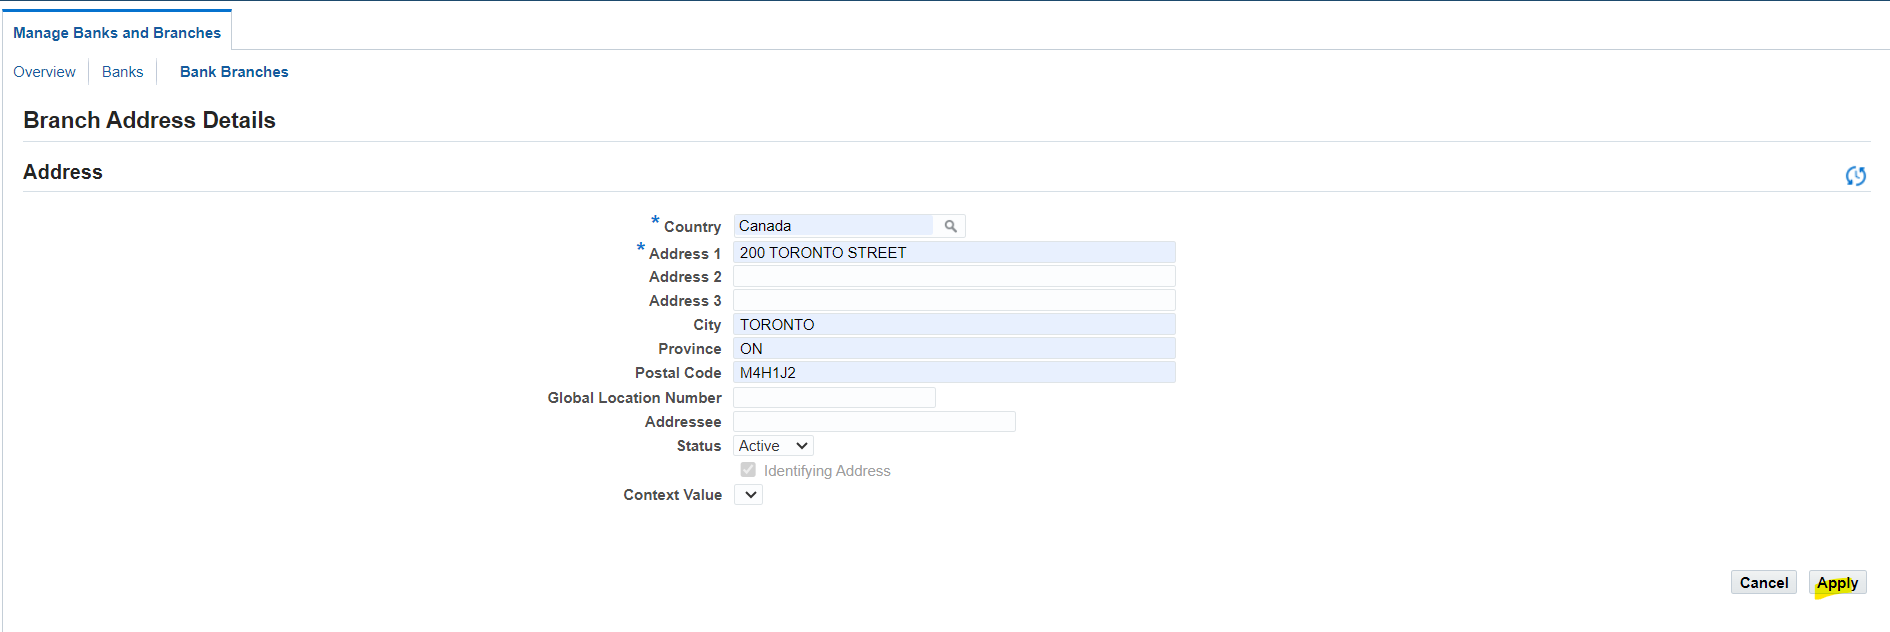
Create Branch Address


Create Branch Contact Information
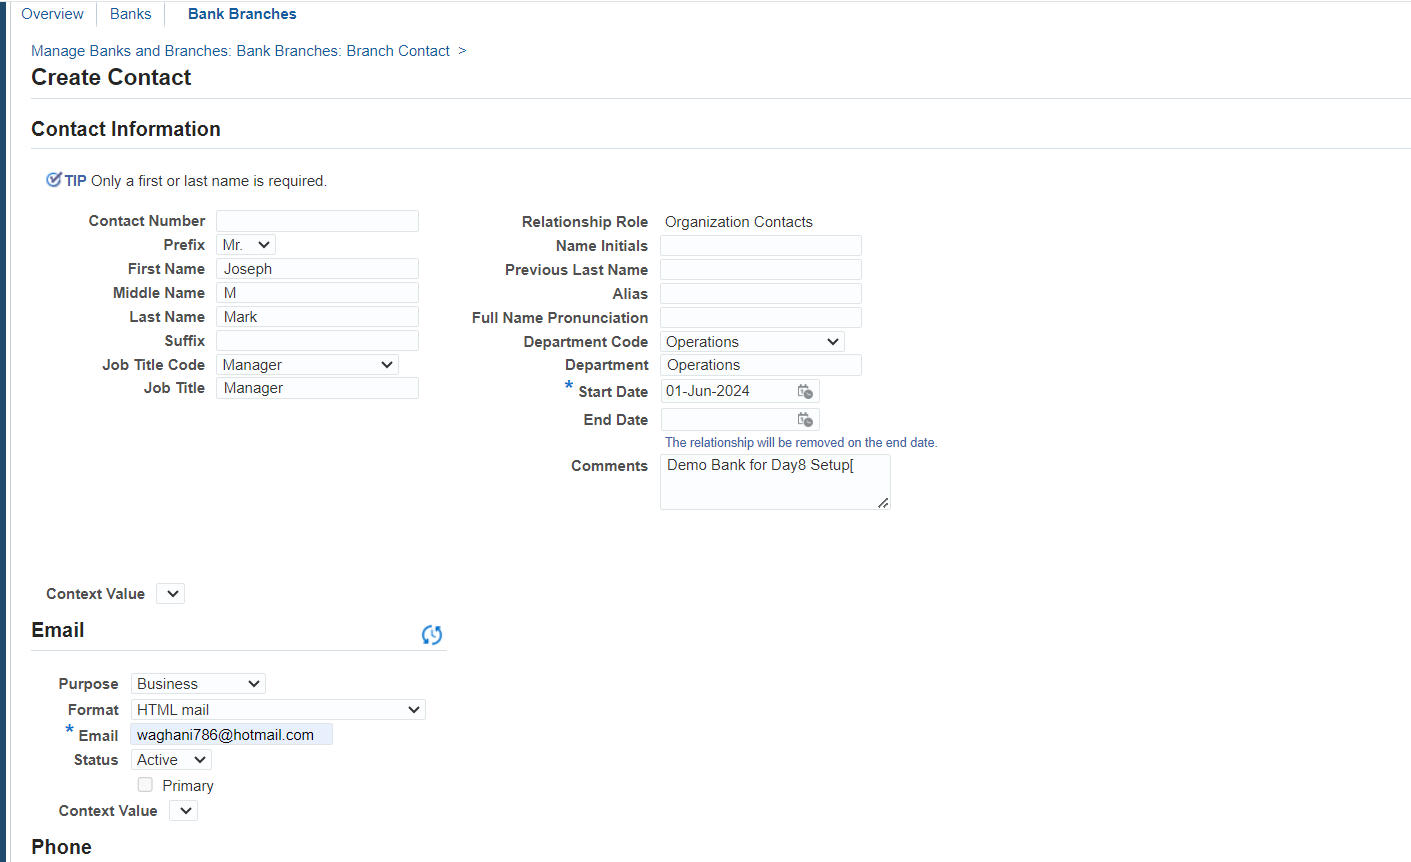
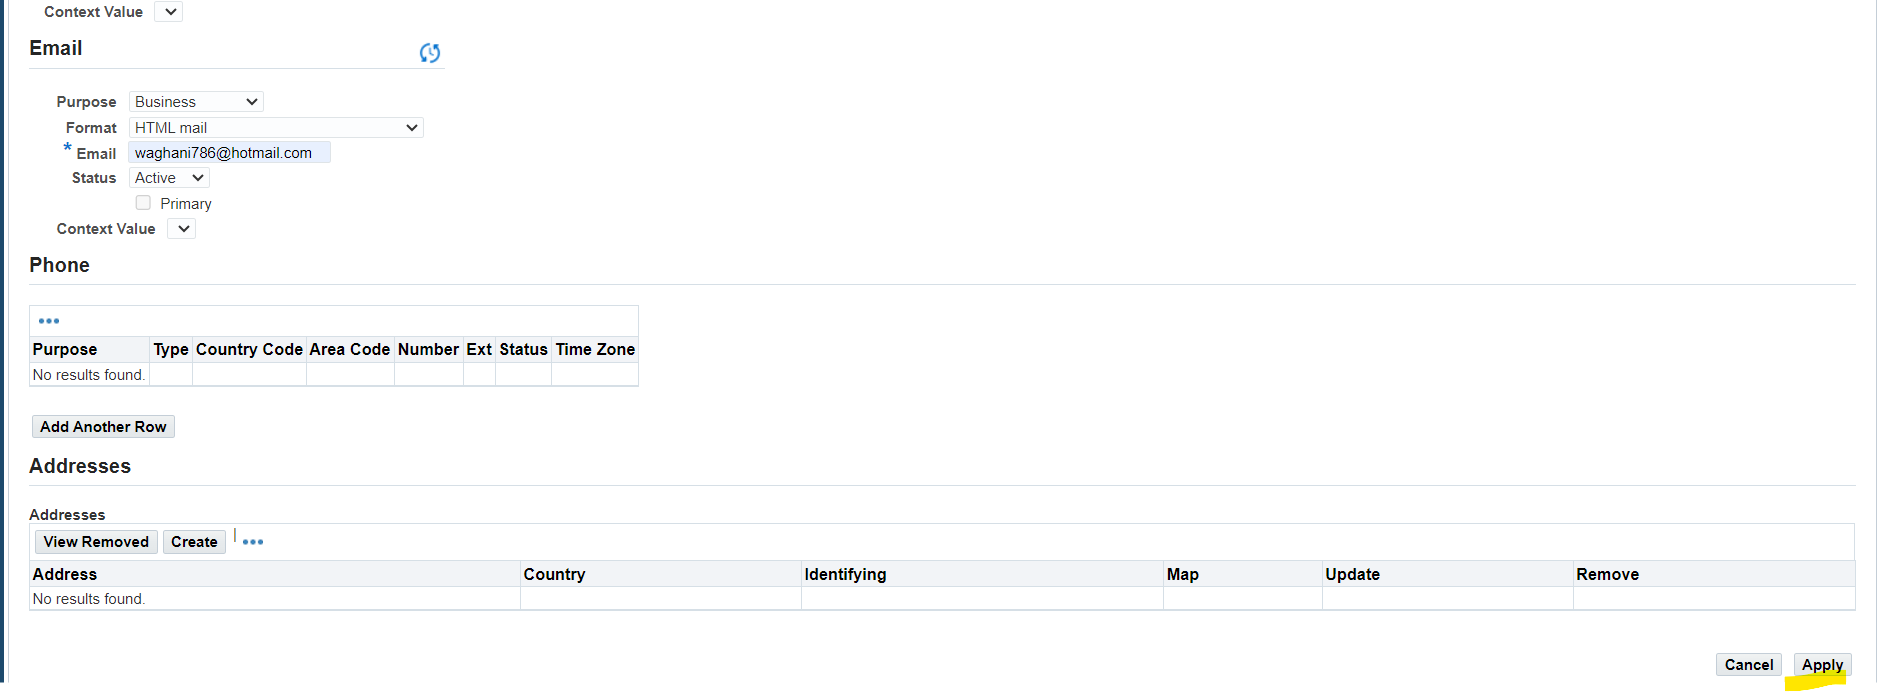


After creating a Bank and a Branch, now create accounting details

Select “Create Account” to add accounting values
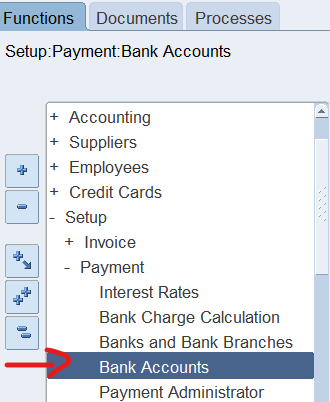
Note: There is another option to select “Bank Accounts” from Navigation.


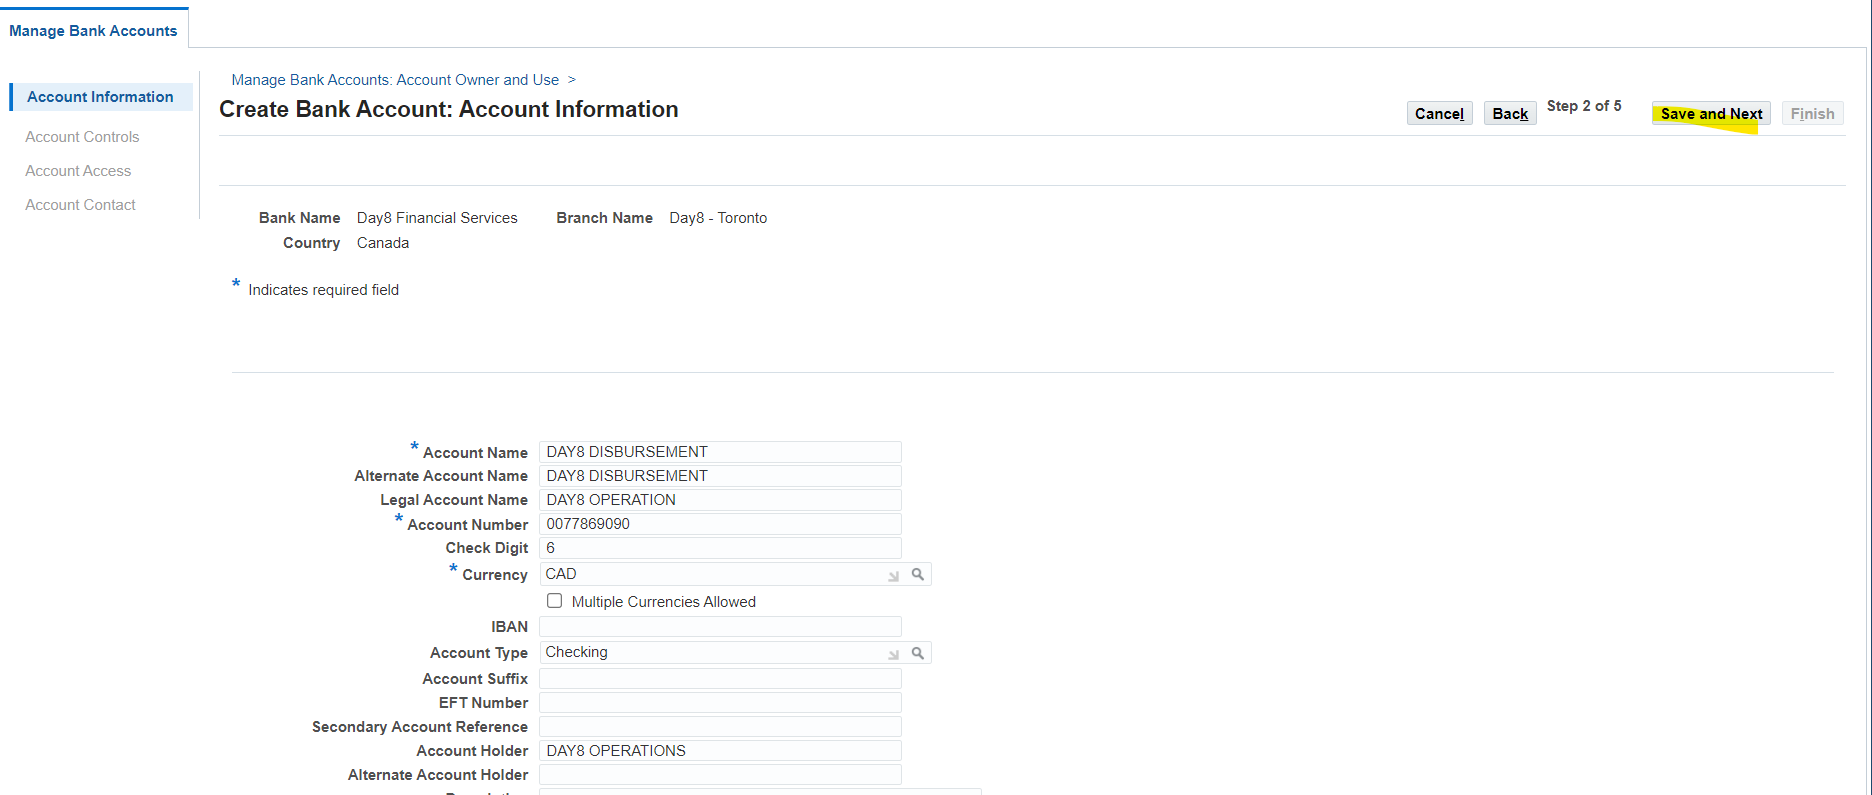
Note: Bank Account Owner is the operating unit or legal entity creating a bank setup

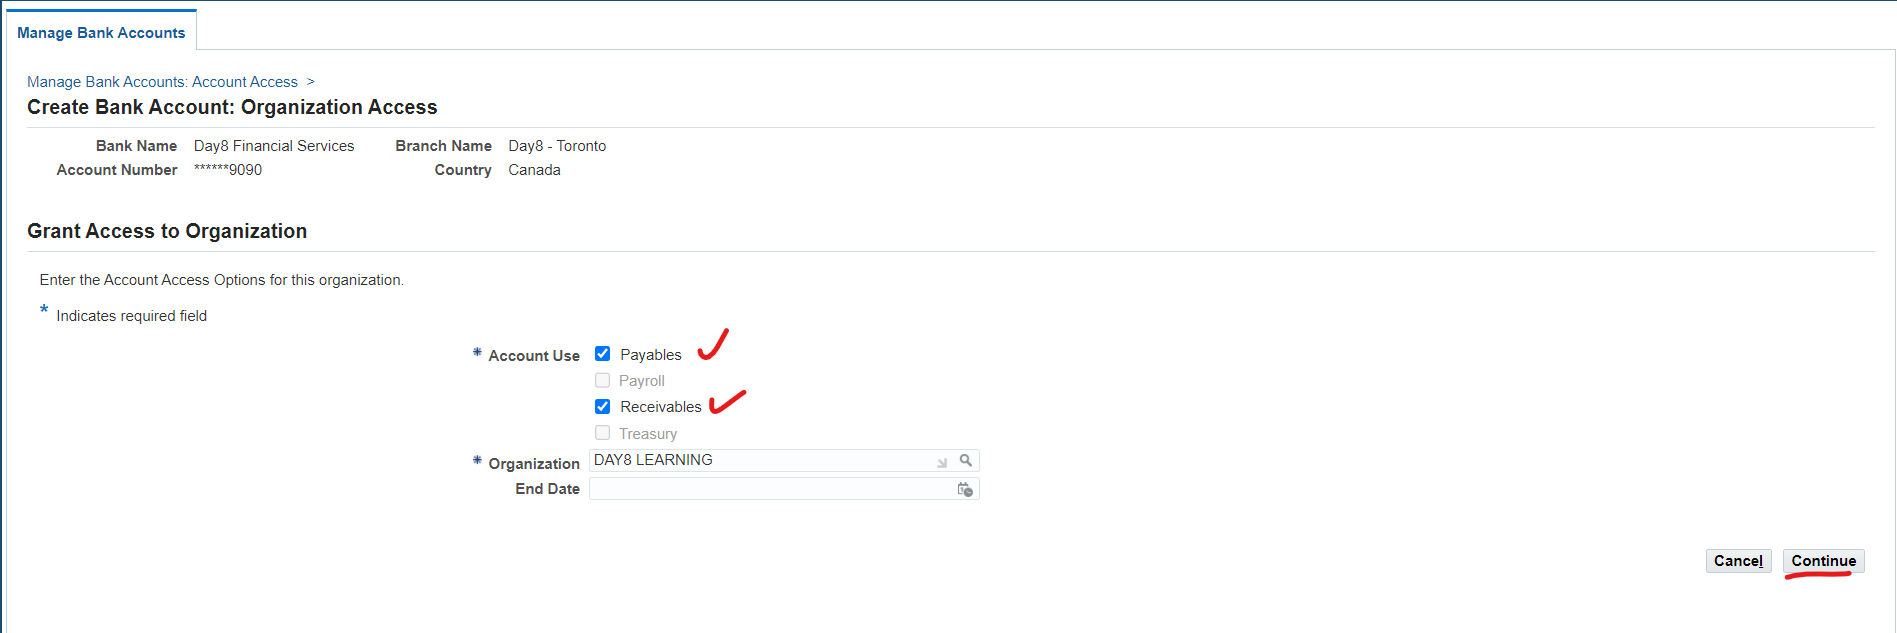
Select Usage of bank account either Payables, Receivables or Payroll

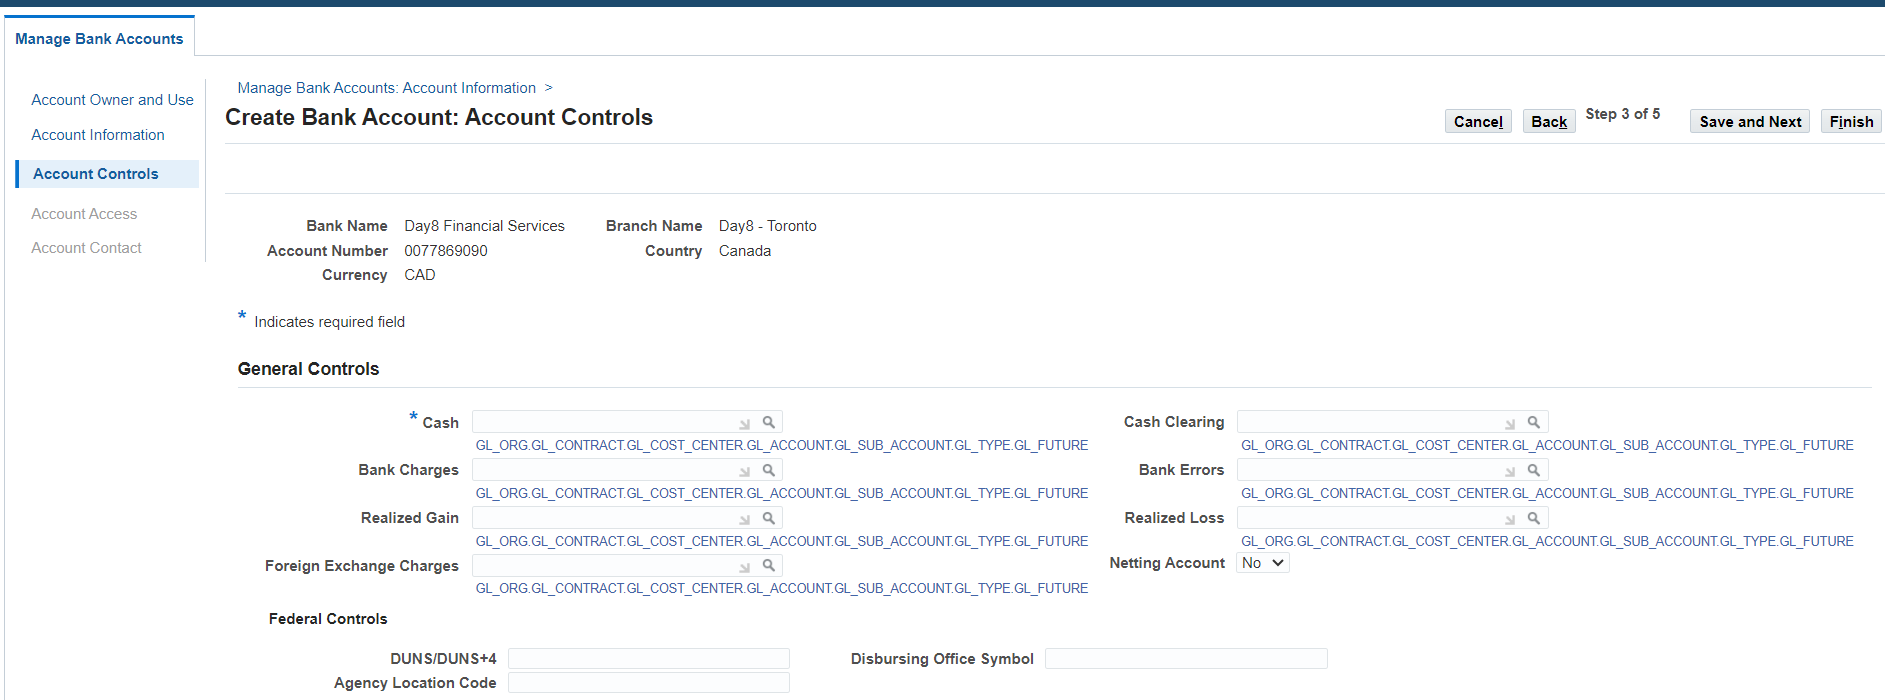
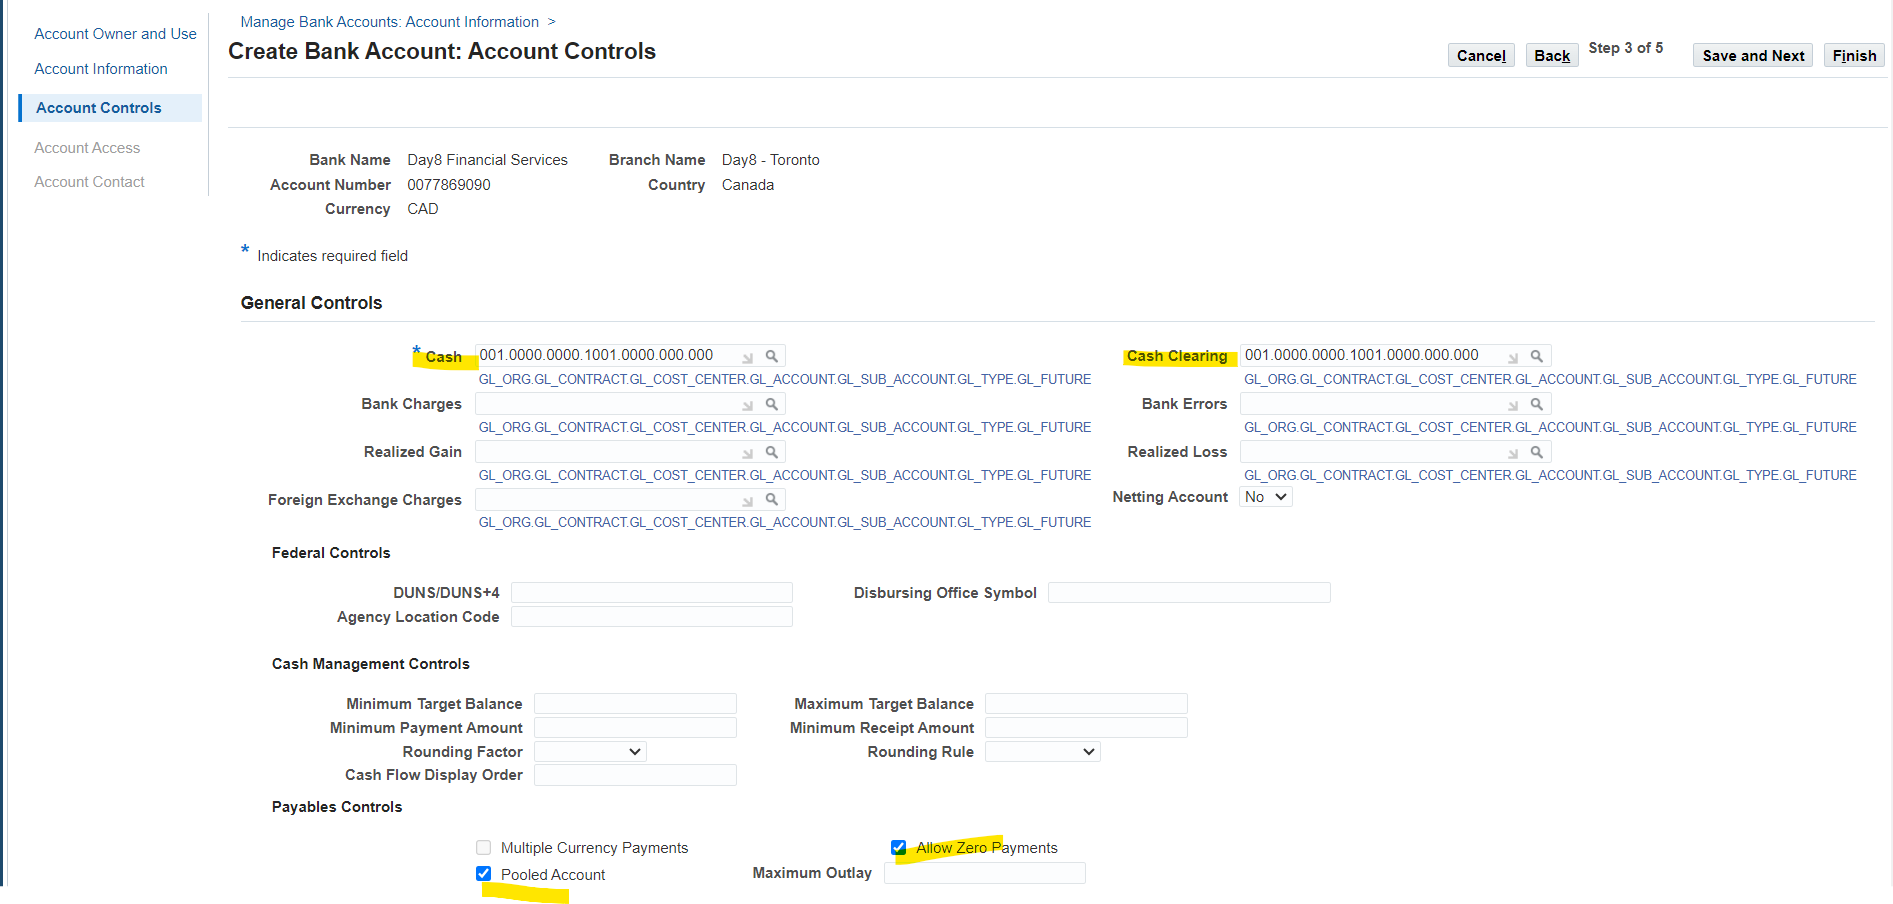

Allow organization access to bank account to allow and receive payments


We can add contact information at account level, same as bank and branch level but it is optional

Select “Finish” to complete bank setup
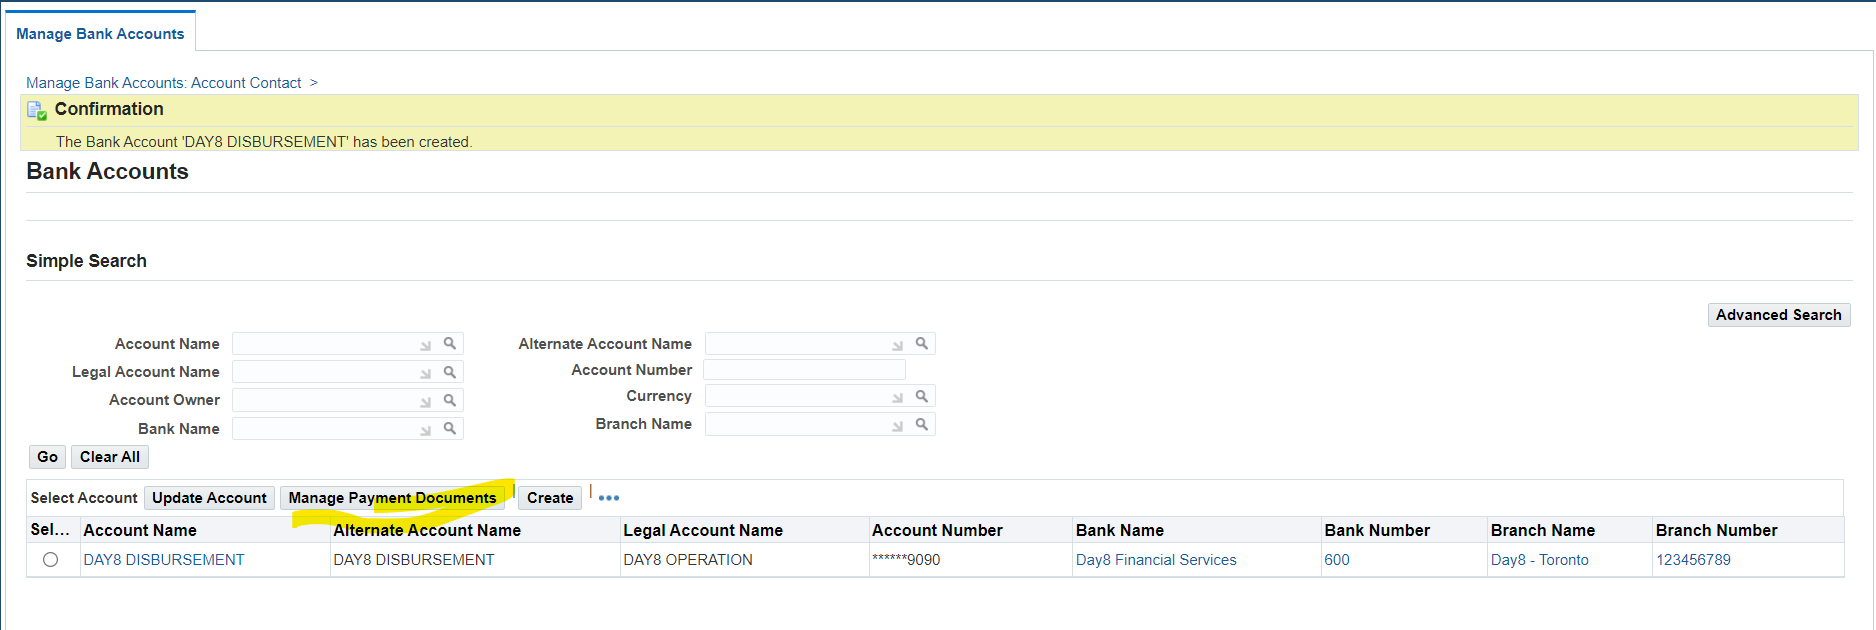
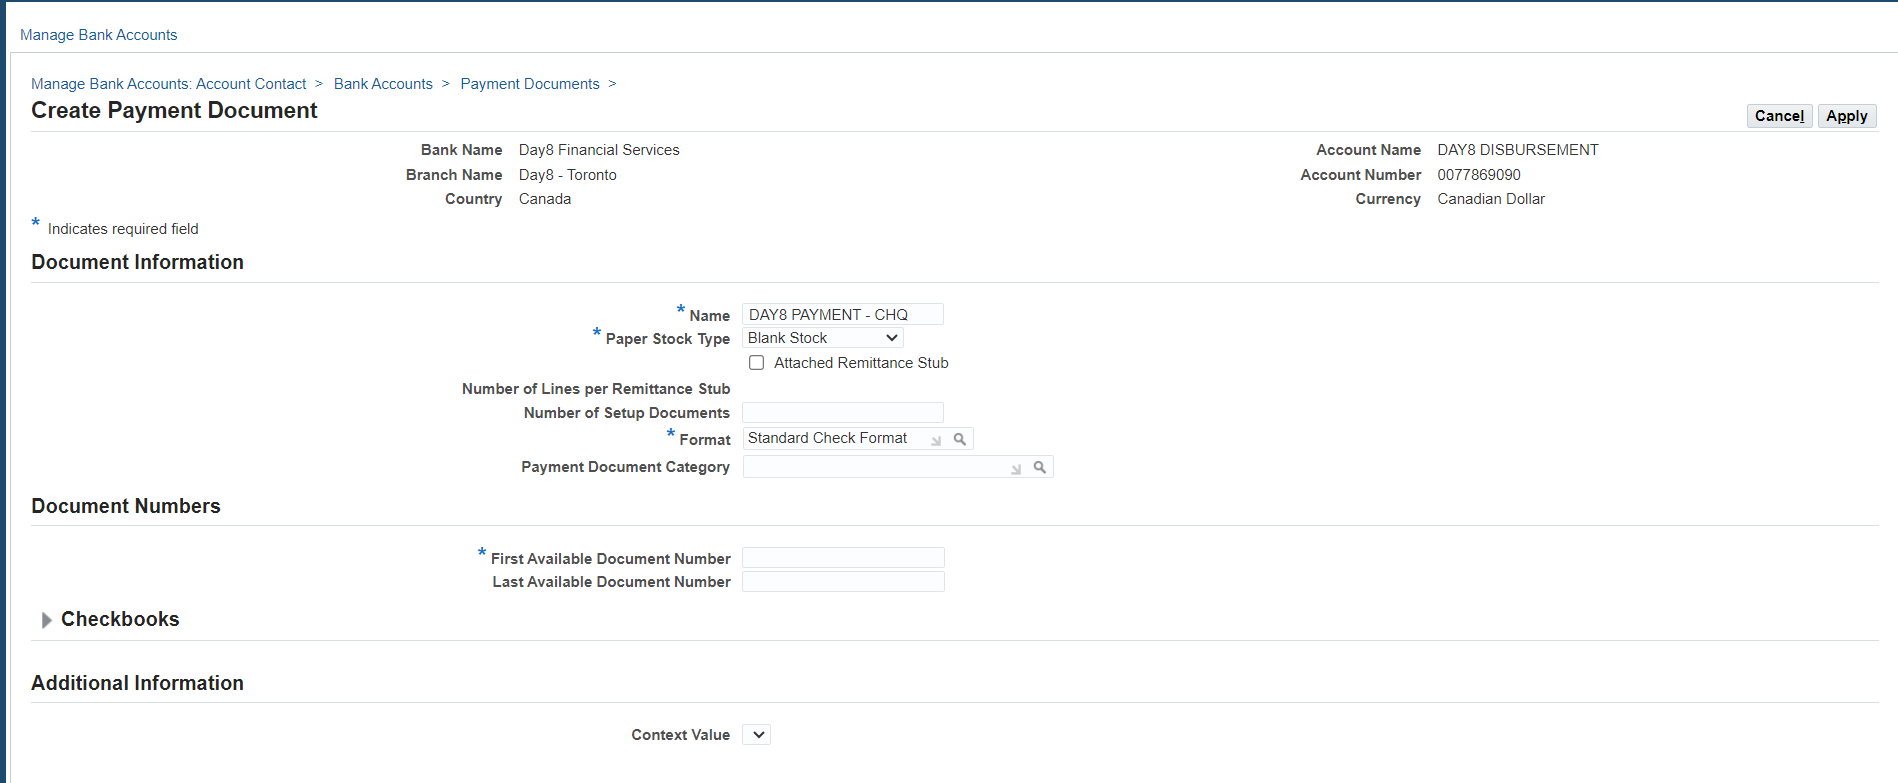
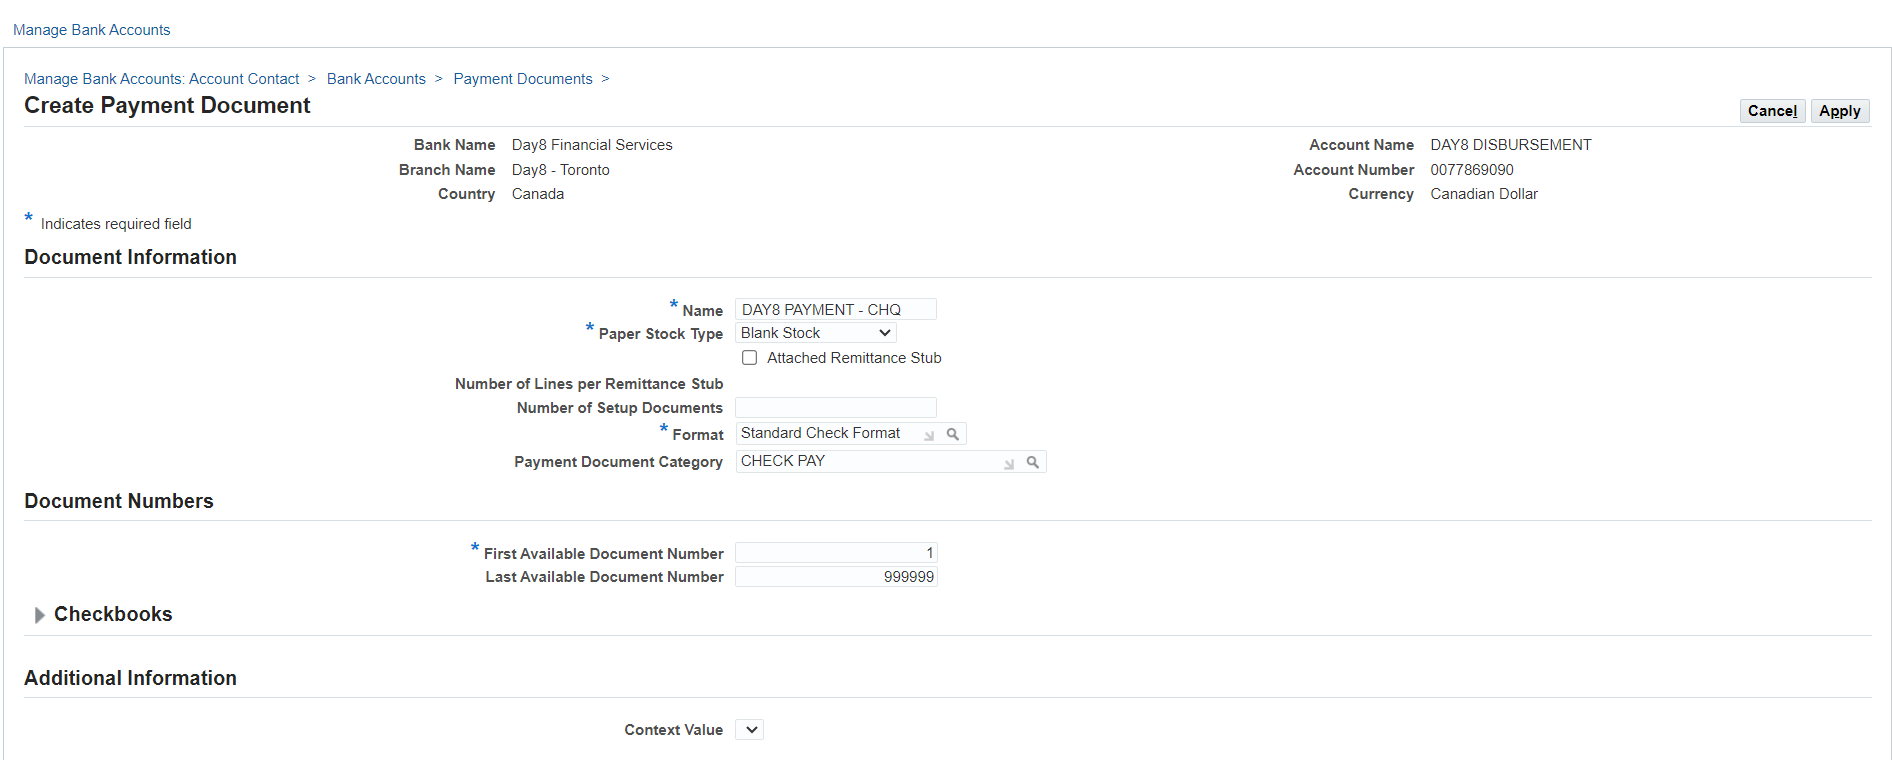
Select Manage Payment Documents




Section 3: Process Payment using New Bank Account
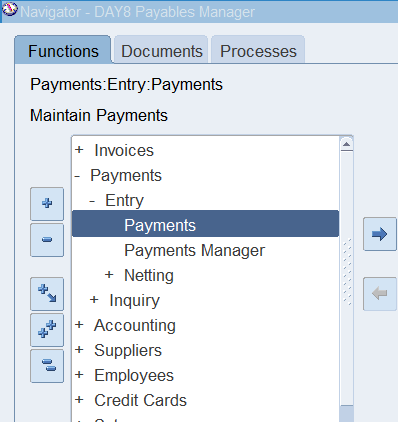
Responsibility: Payables Manager
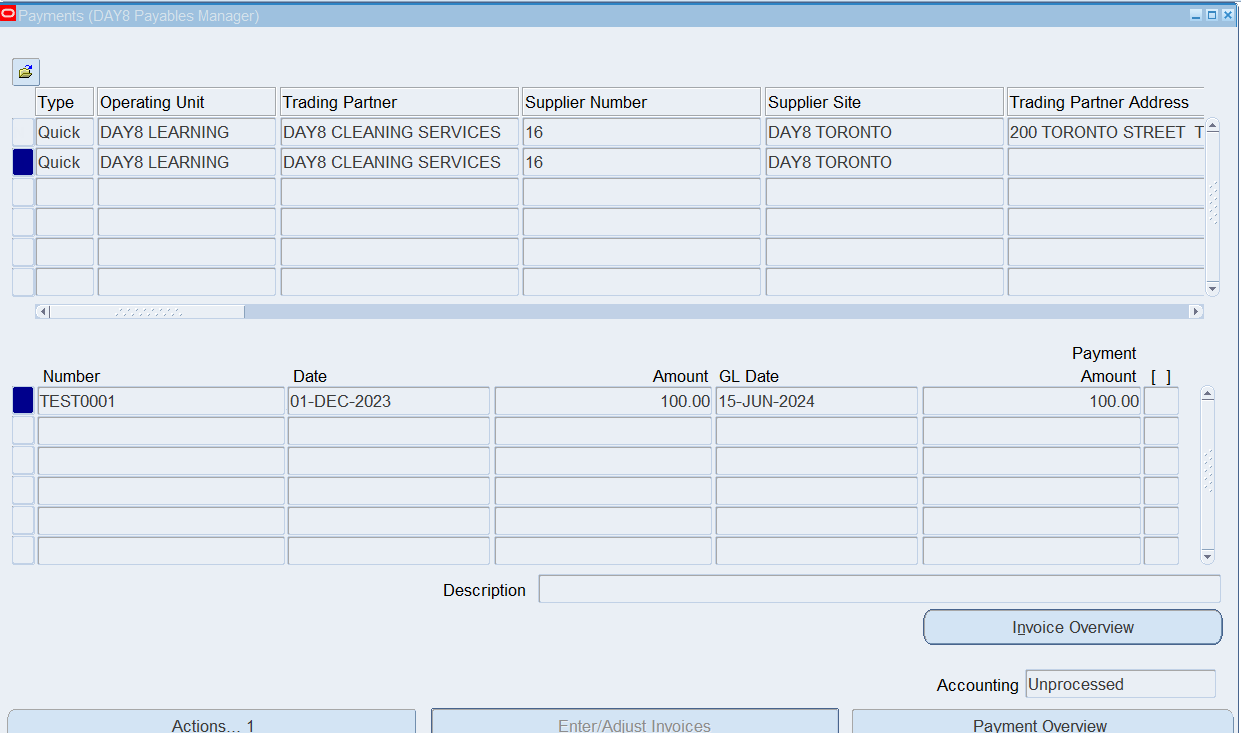
(N) Payments 🡪Entr
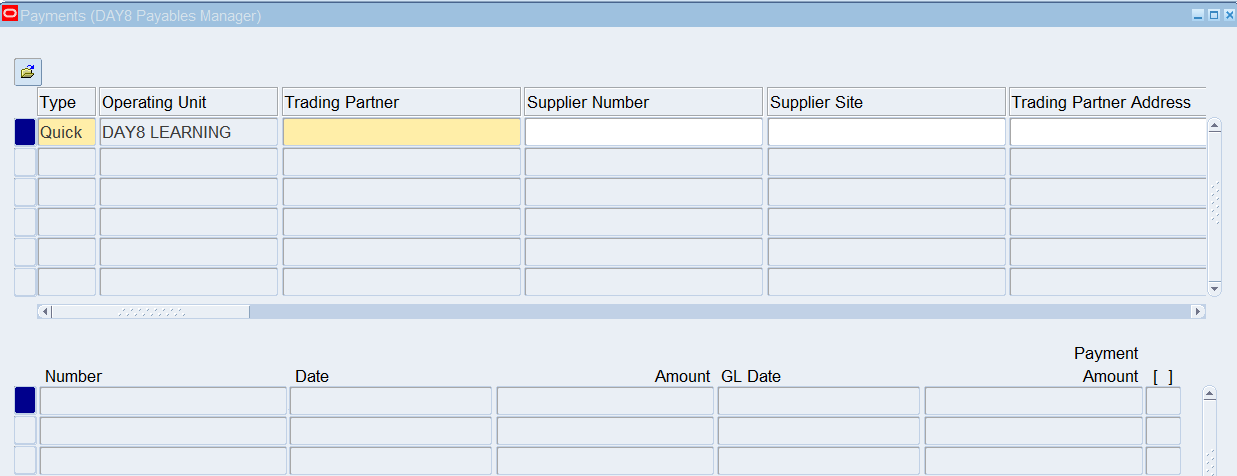


Select Invoice for payment
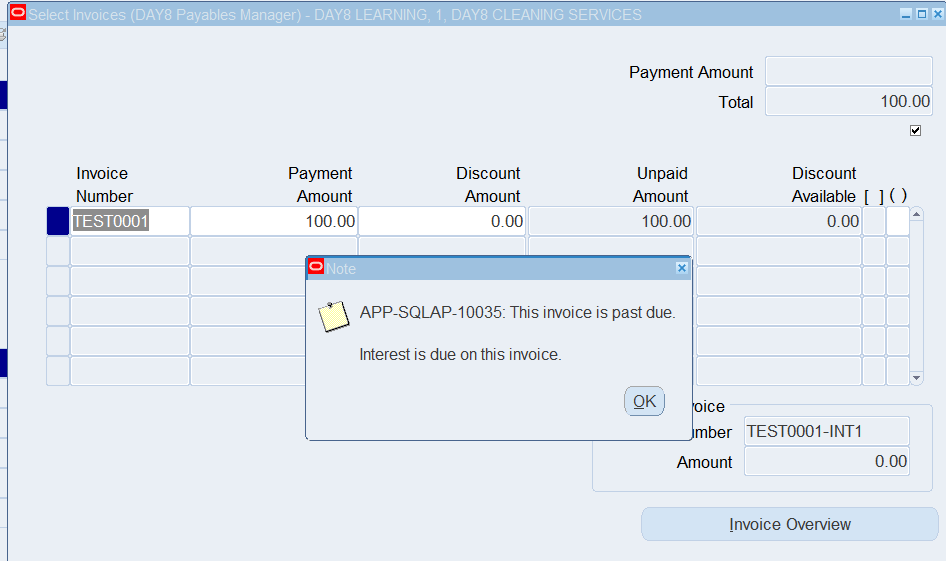
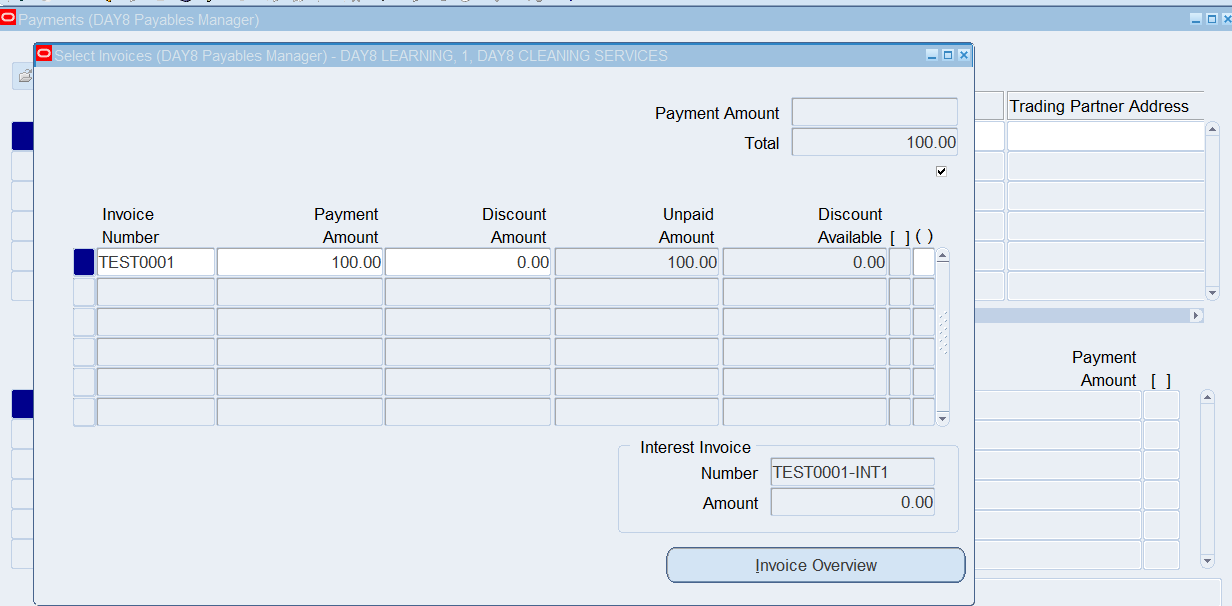
Payment Process initiated once save selected invoice for payment
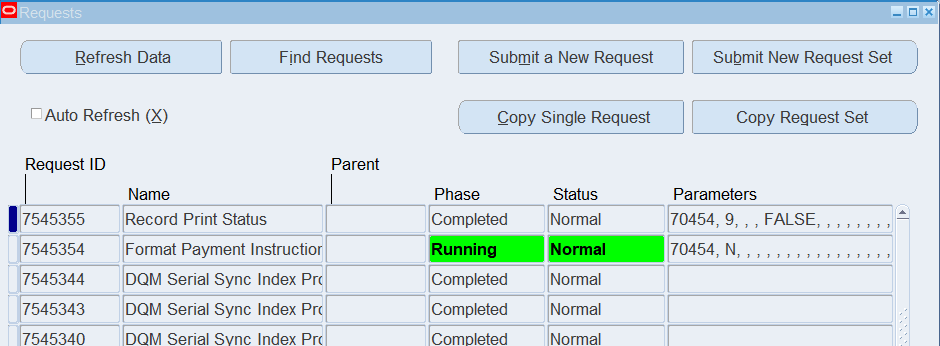
Review output of Format Payment Instruction
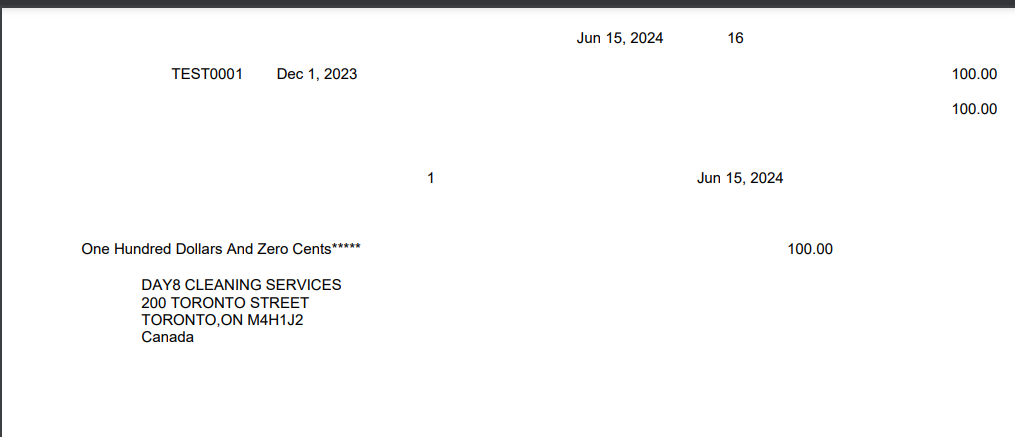
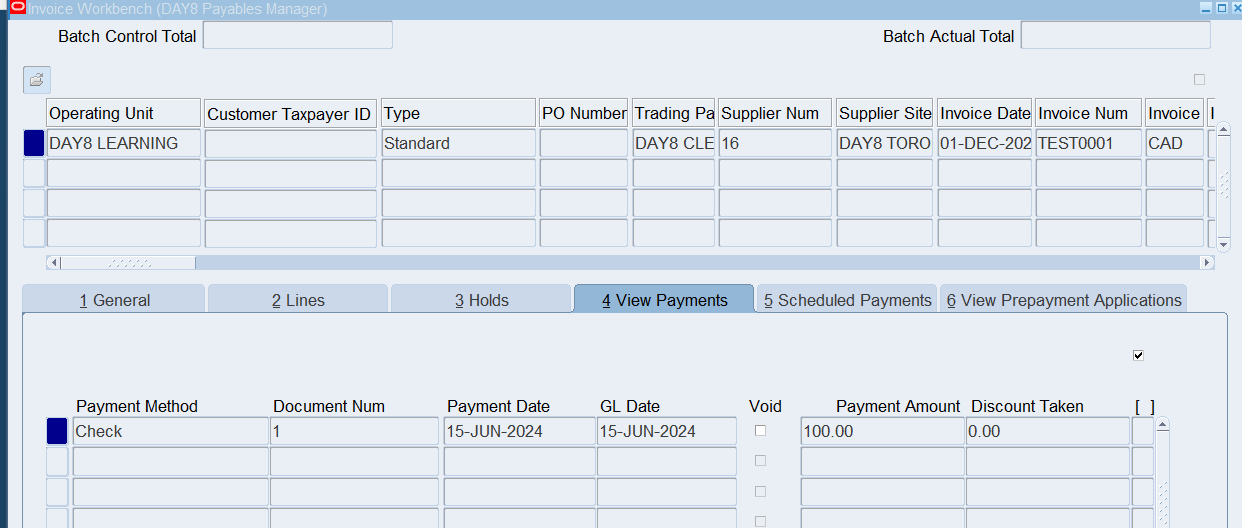
Review Invoice status is now showing as PAID.
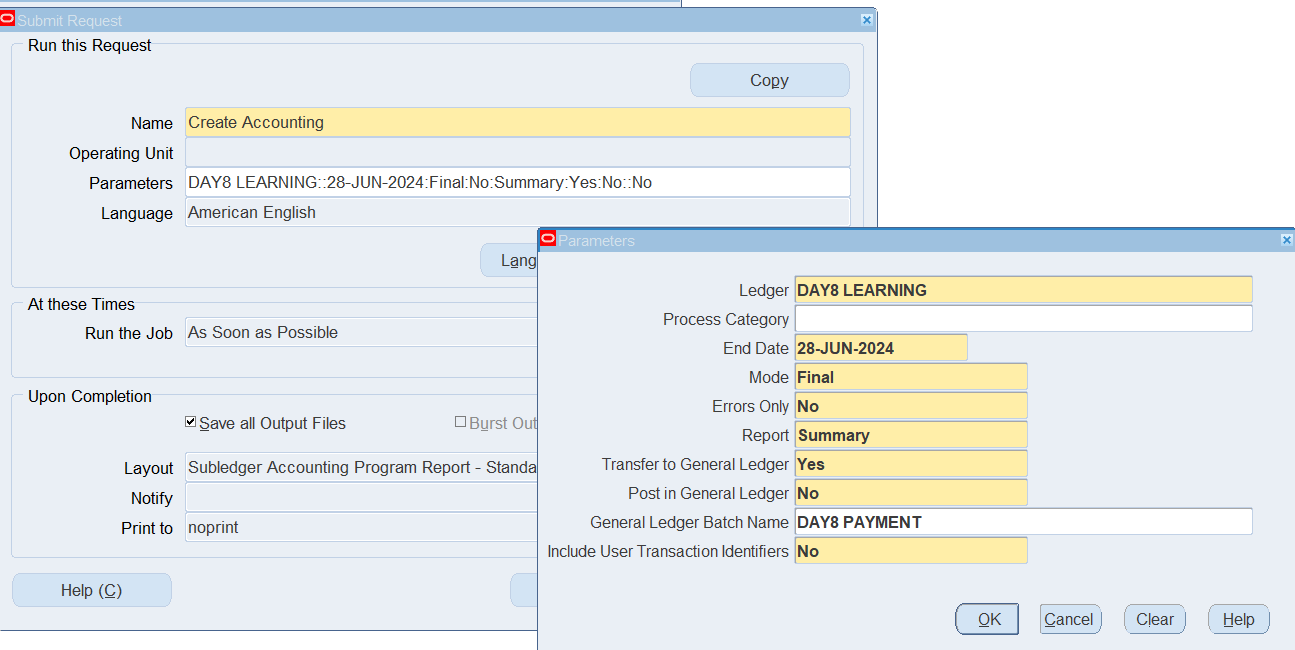

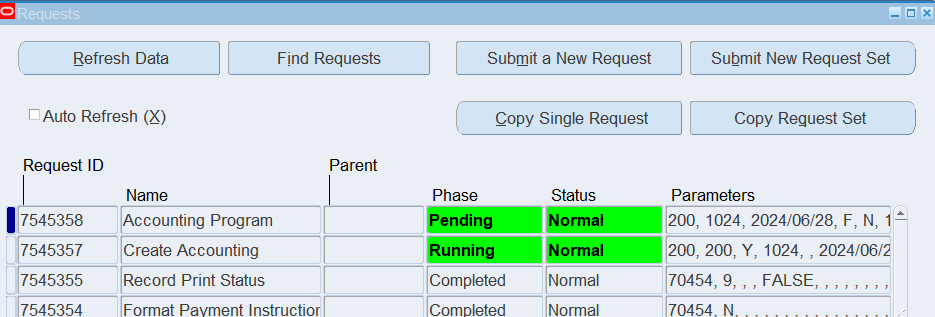
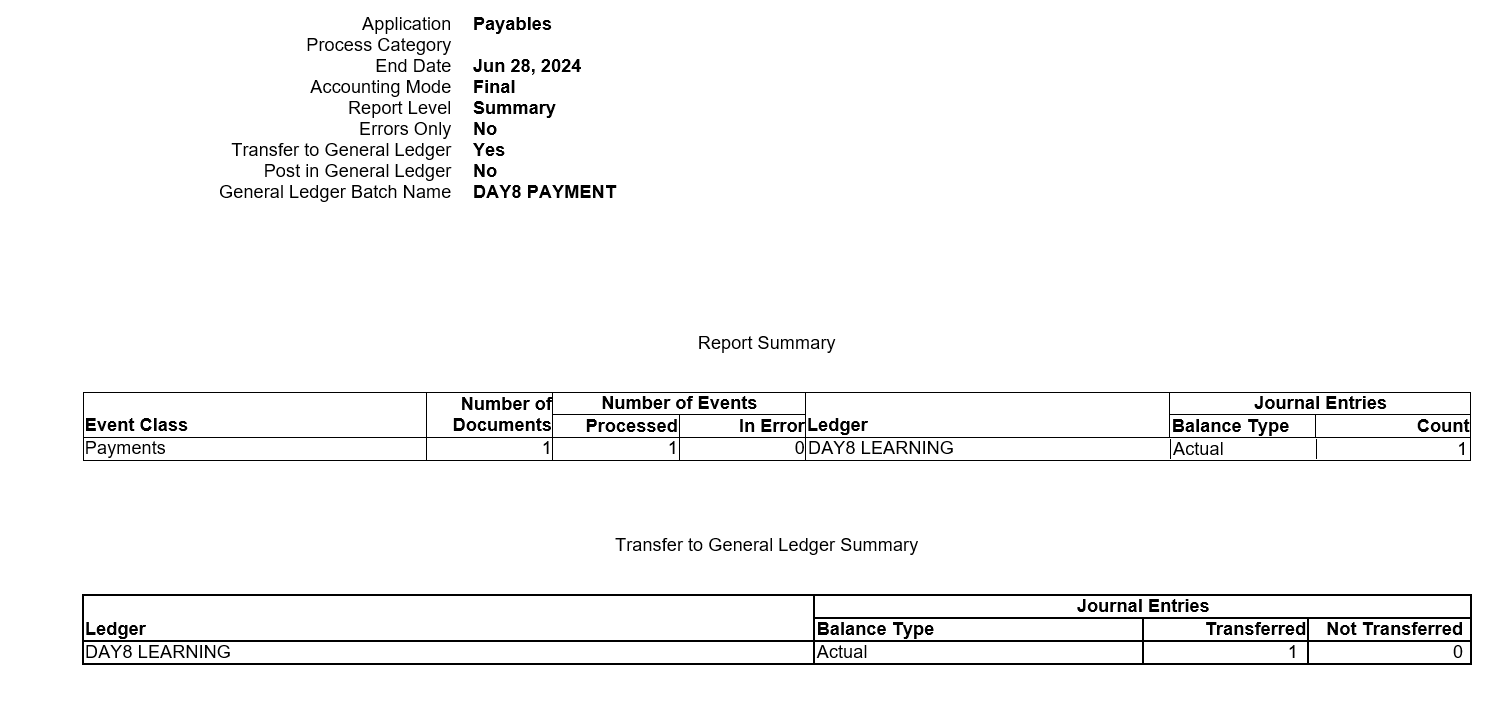
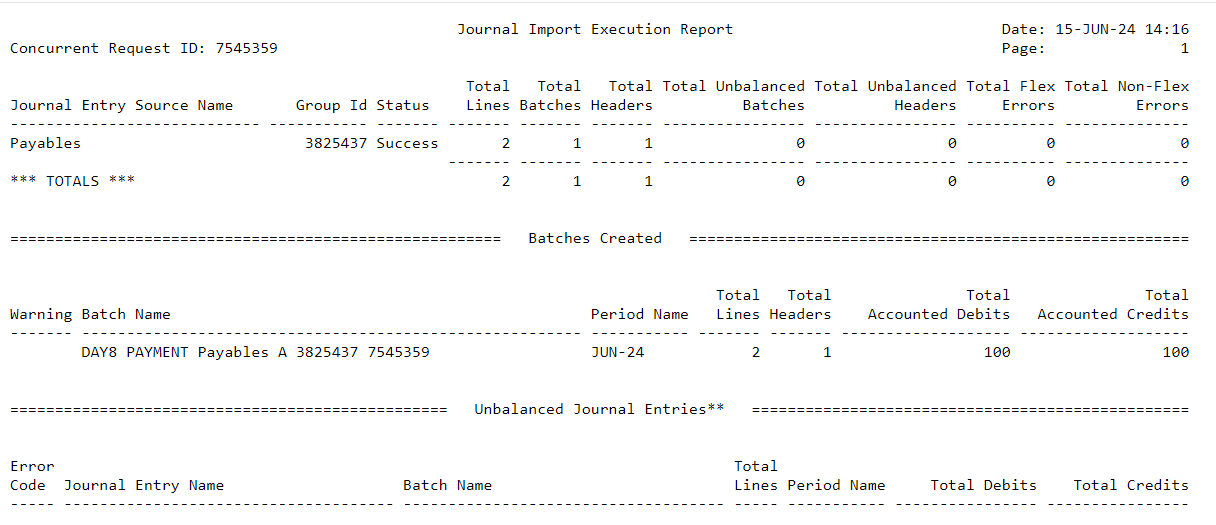
Section 4: Create Cheque Template
Responsibility: Payables Manager
(N) Setup 🡪 Payment 🡪 Payment Administrator
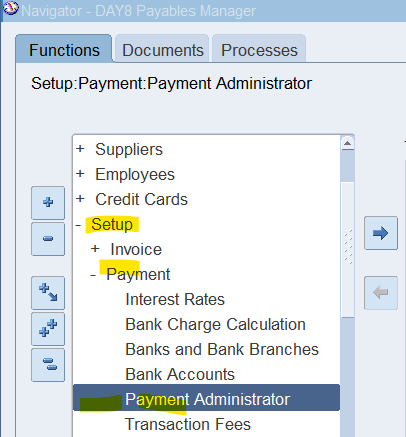
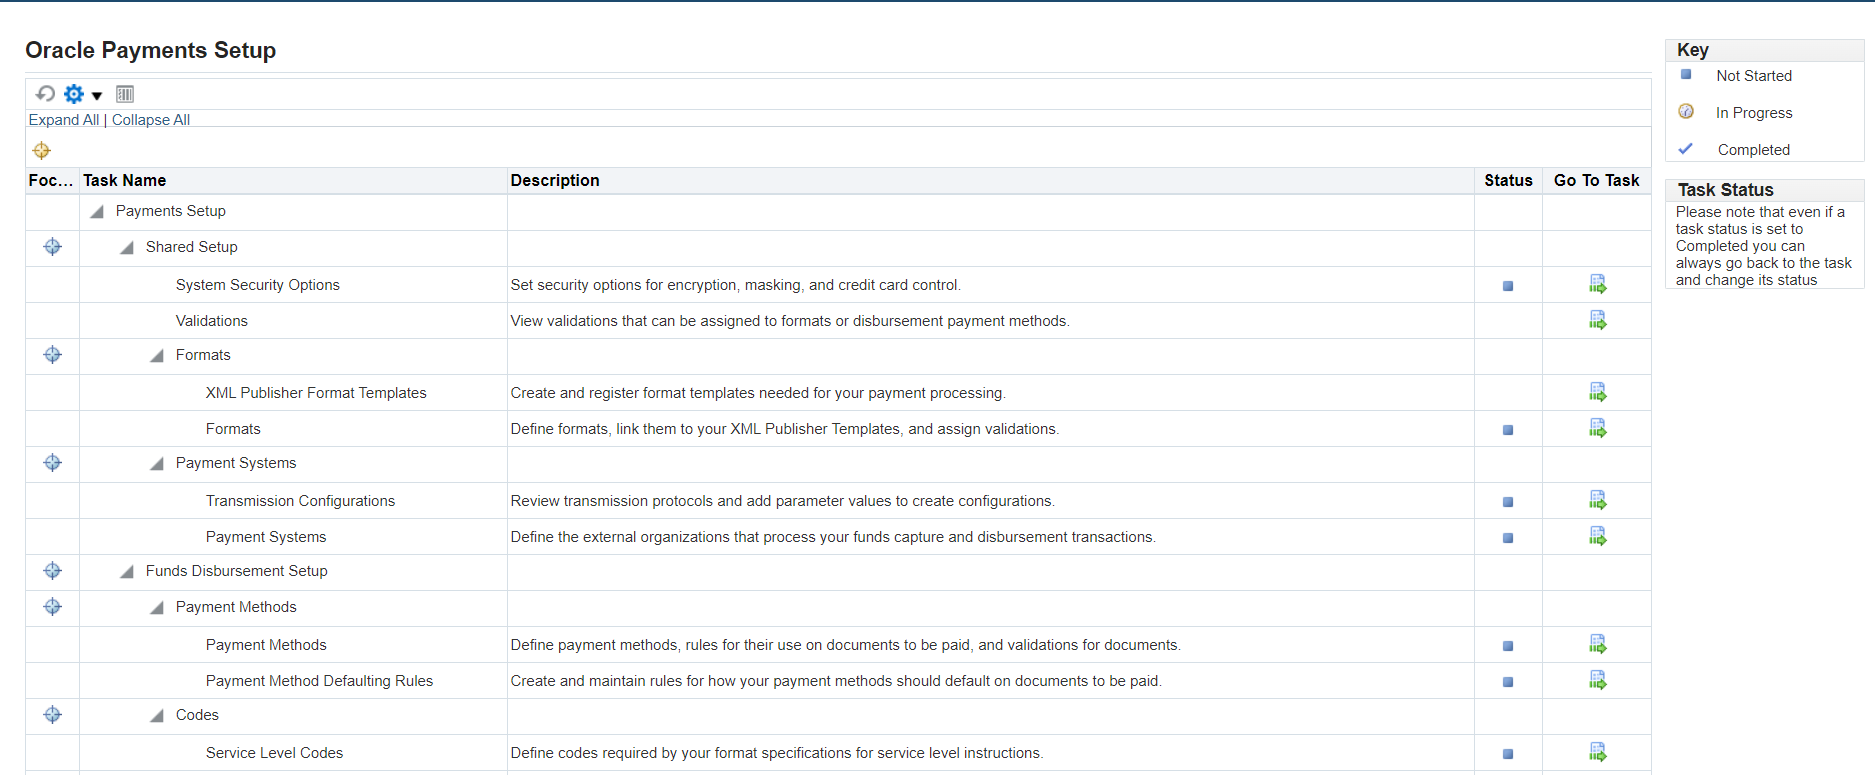
Copy standard format template using following navigation


Following are level of Payment Process.
- Payment Process Profile
- Payment Format
- XML Publisher Template

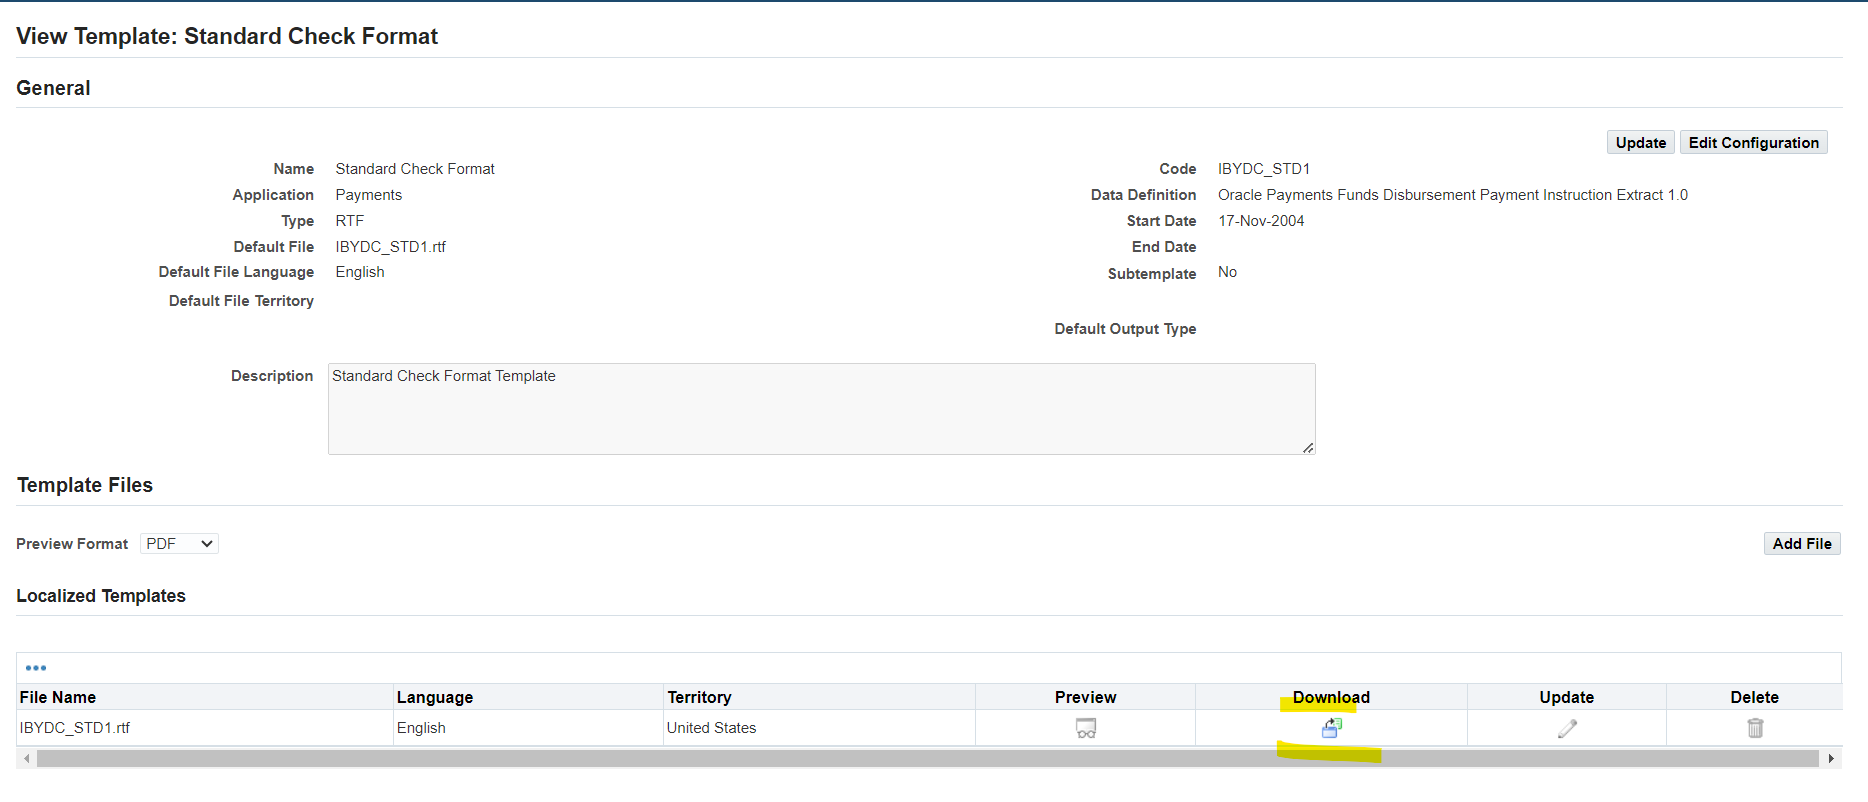
Download existing template
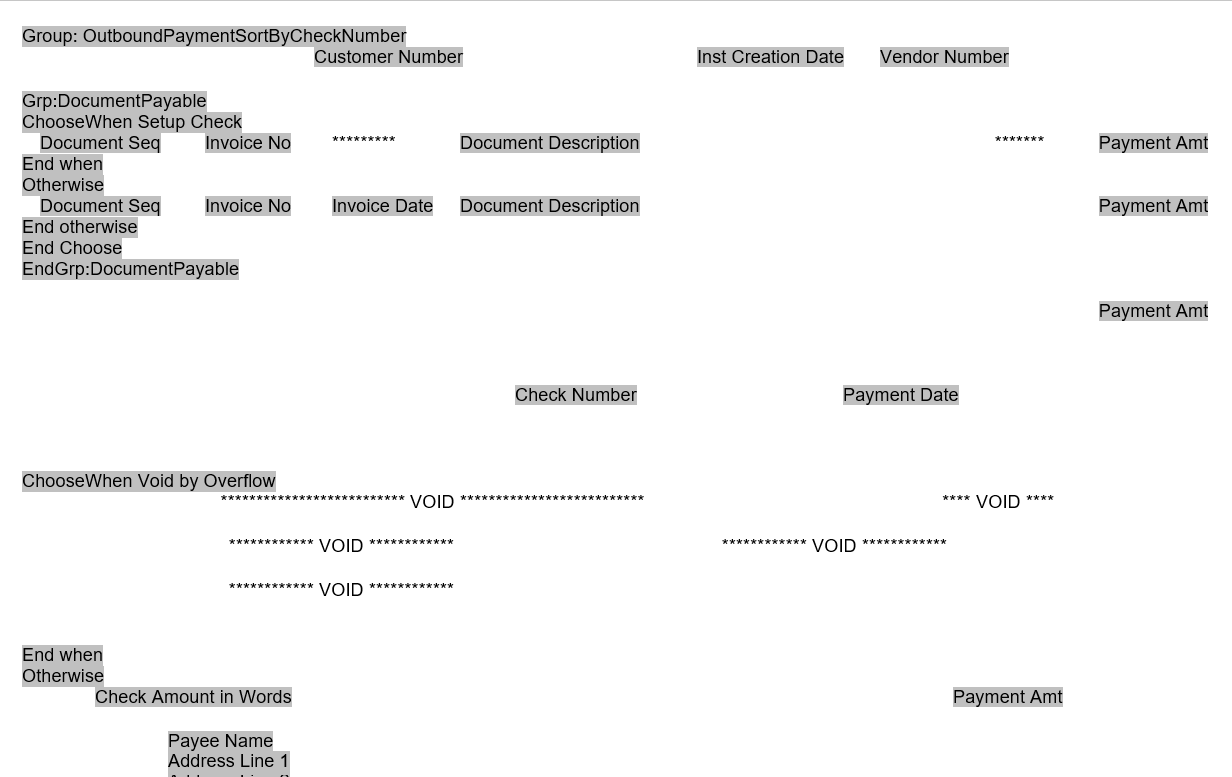
Rename rtf file to “DAY8 CHEK”
Now create new template

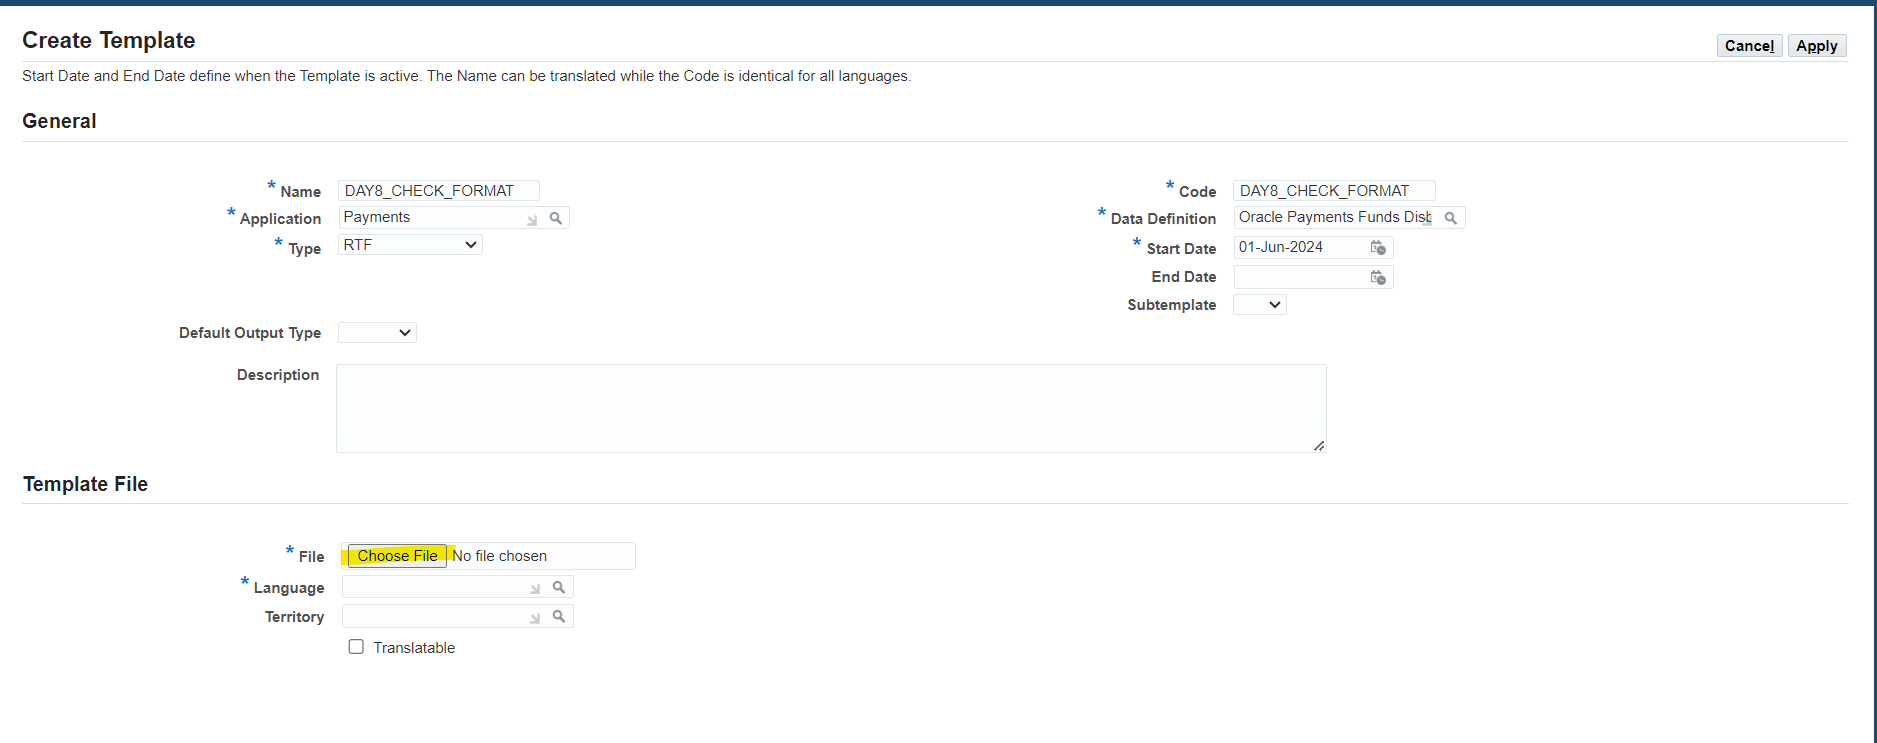
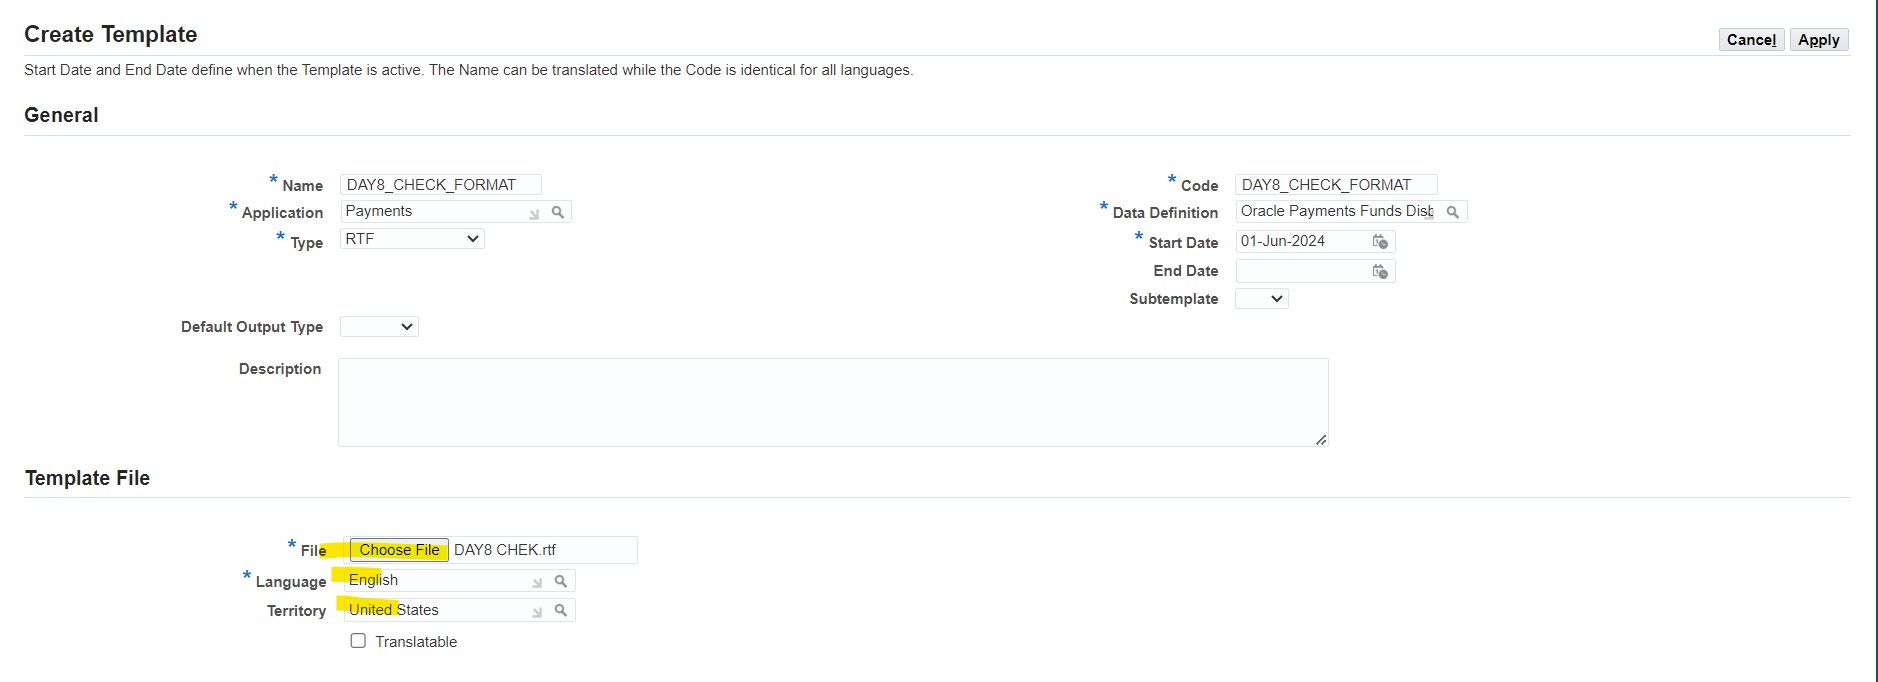
Select “Apply” to complete all setup
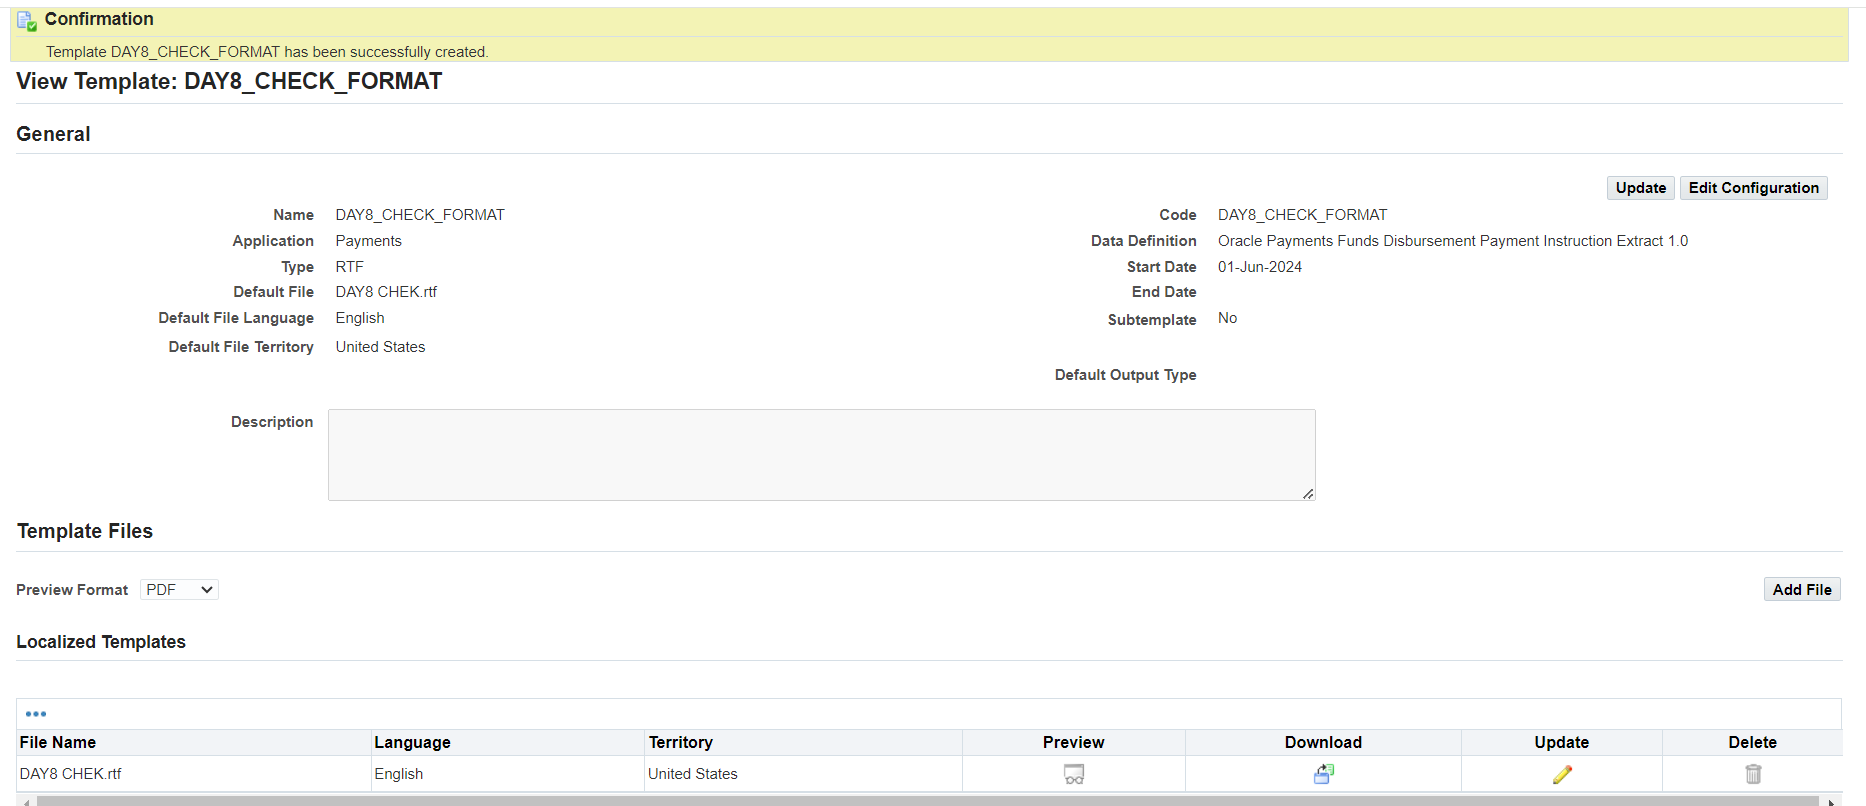
Next Step to create Payment Format


Make sure to select type “Disbursement Payment Instruction”

Select Apply

Now setup payment process profile


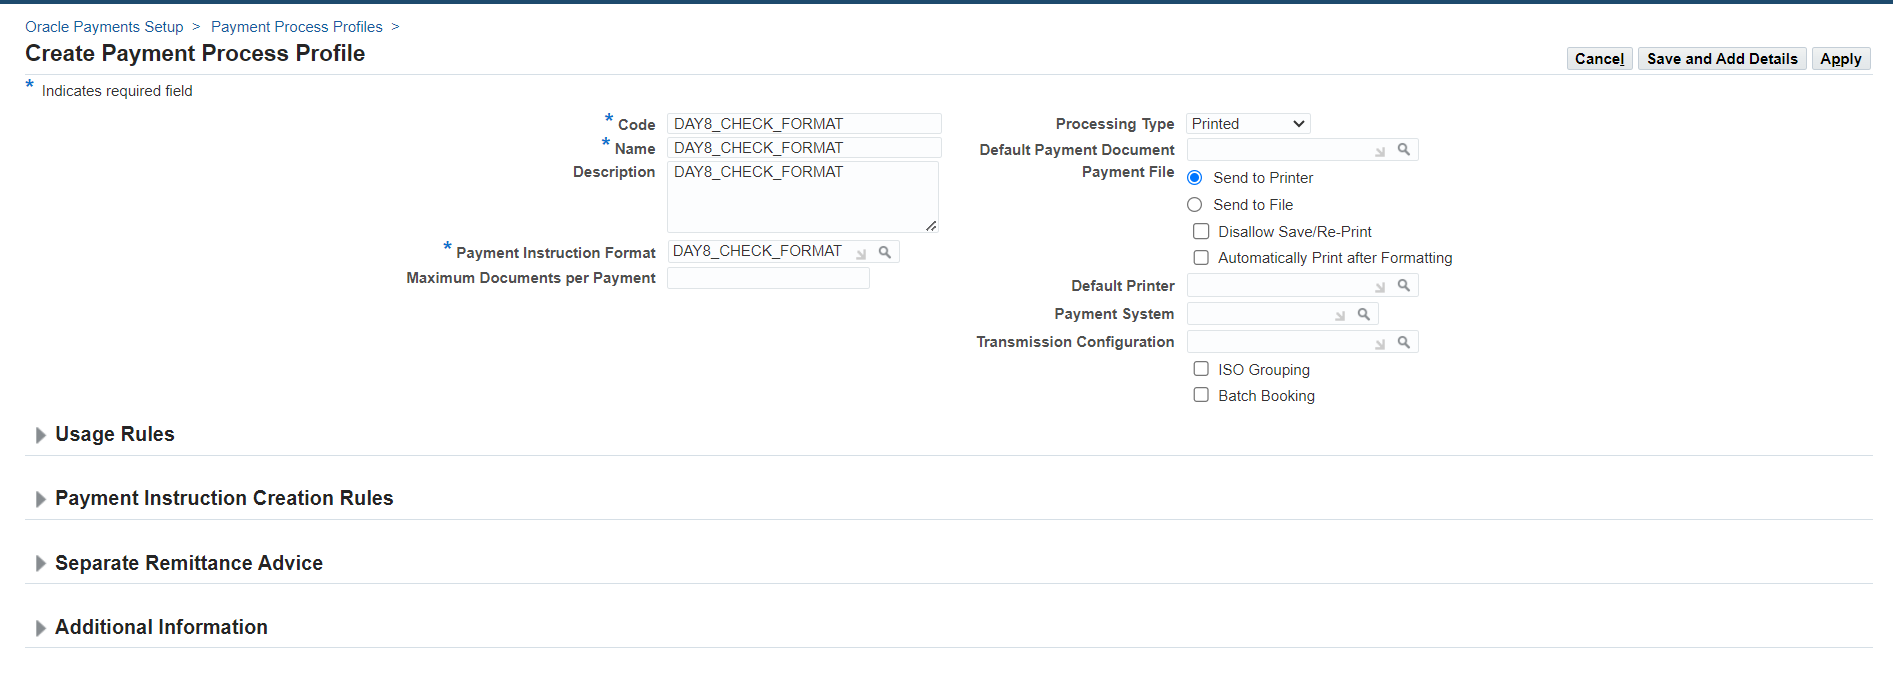


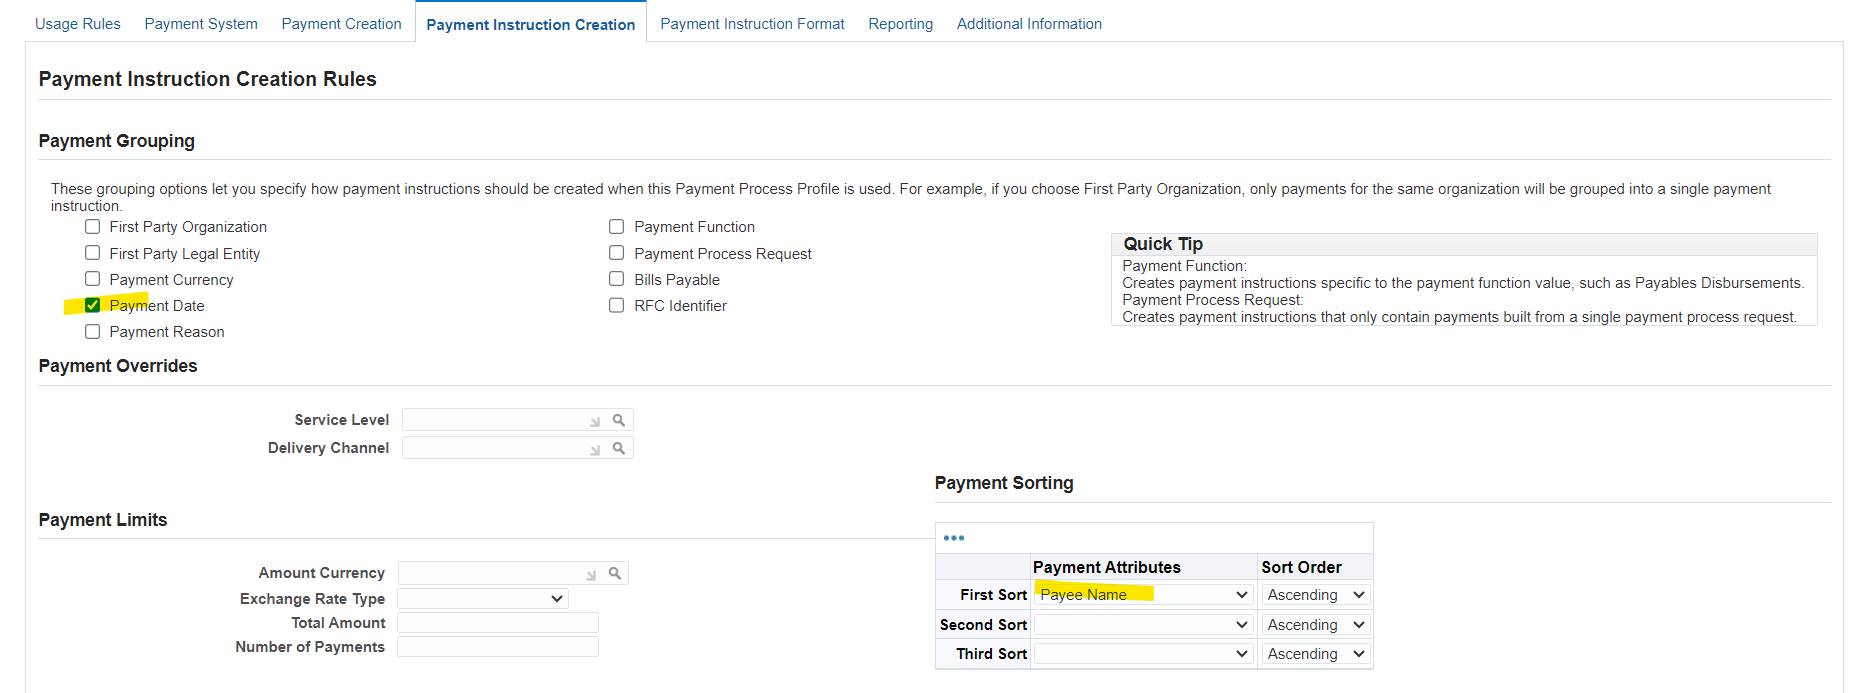
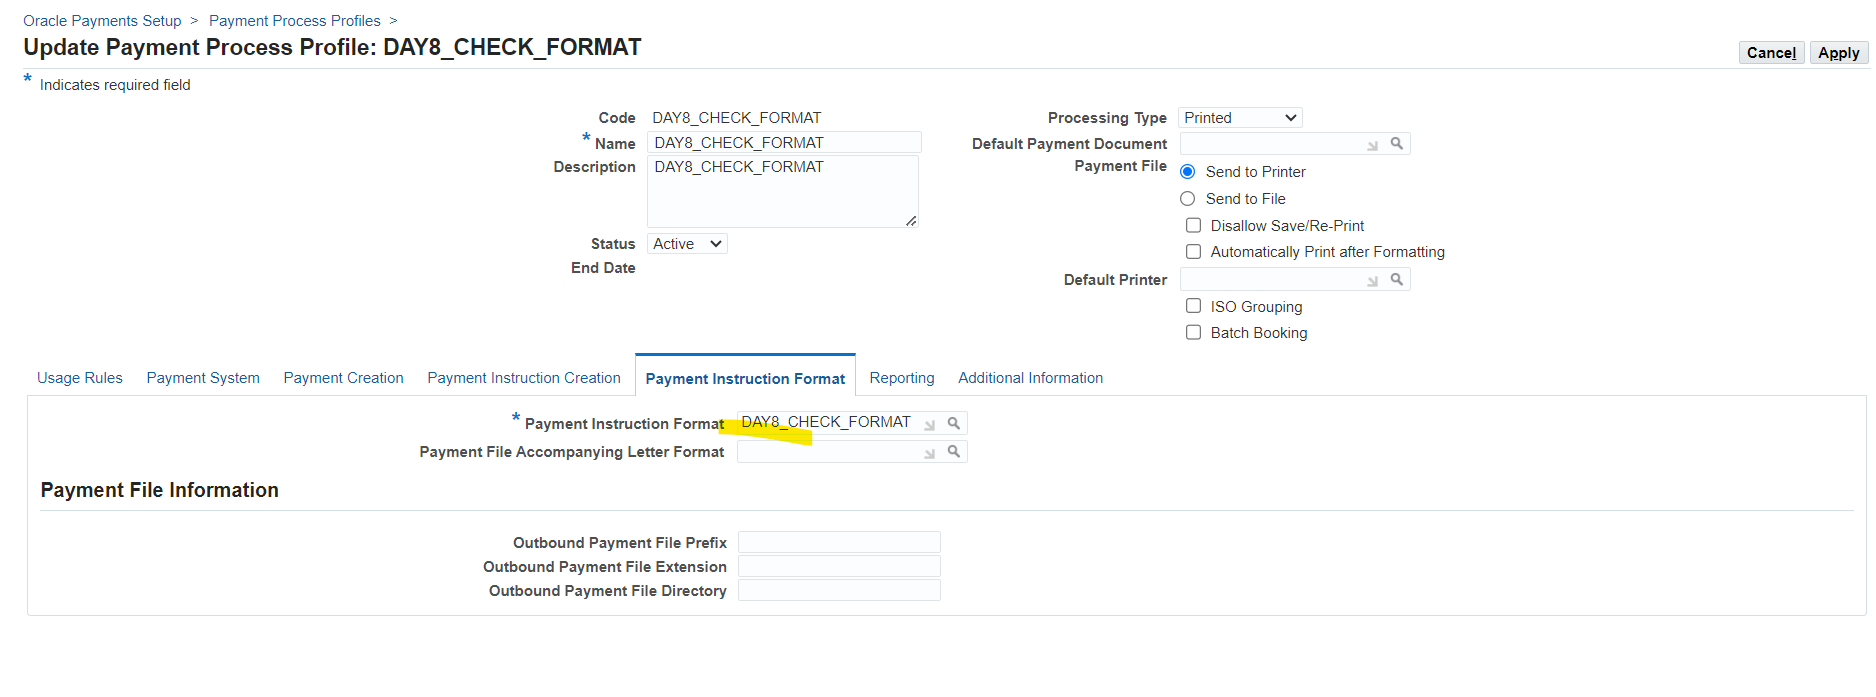
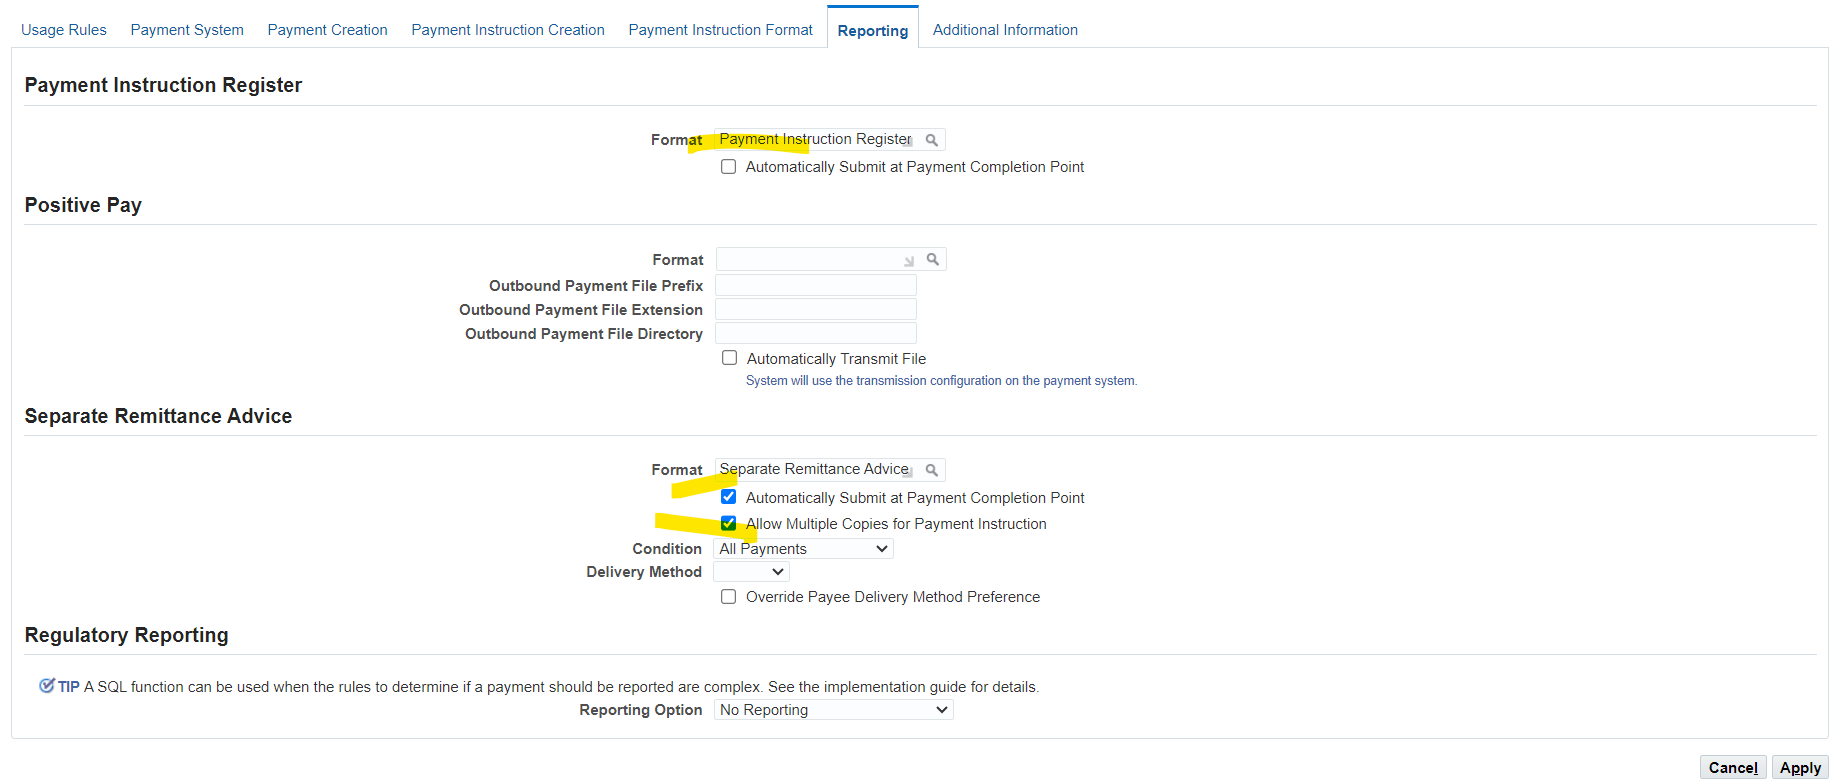


Now update bank account setup and add payment format
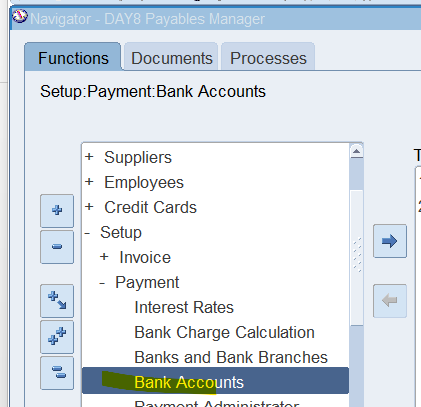


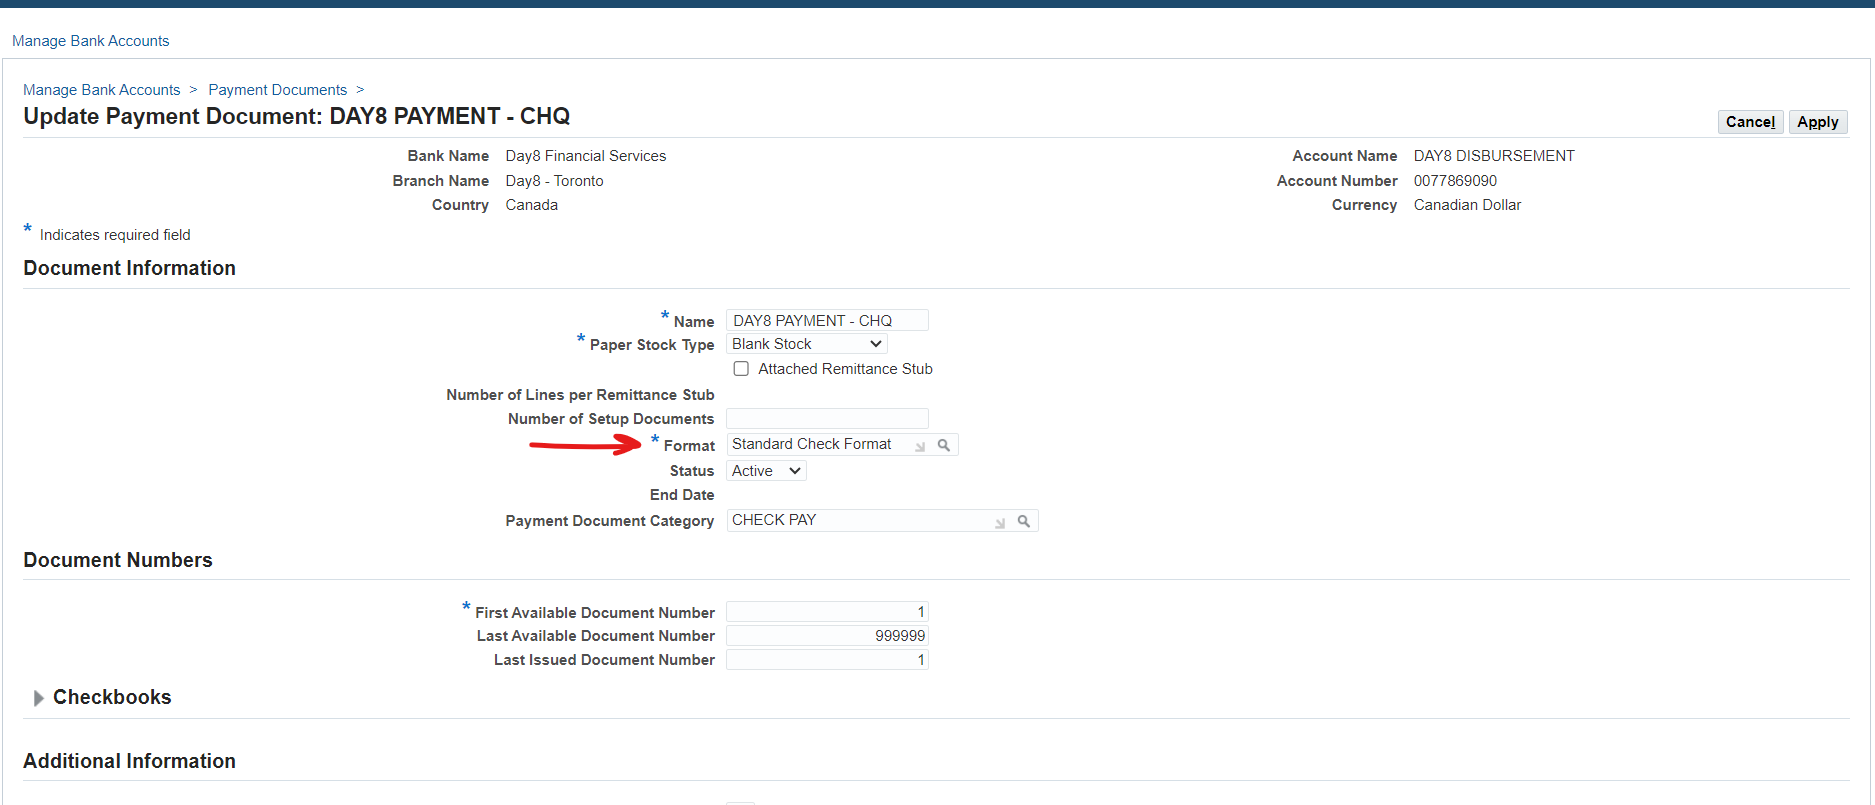
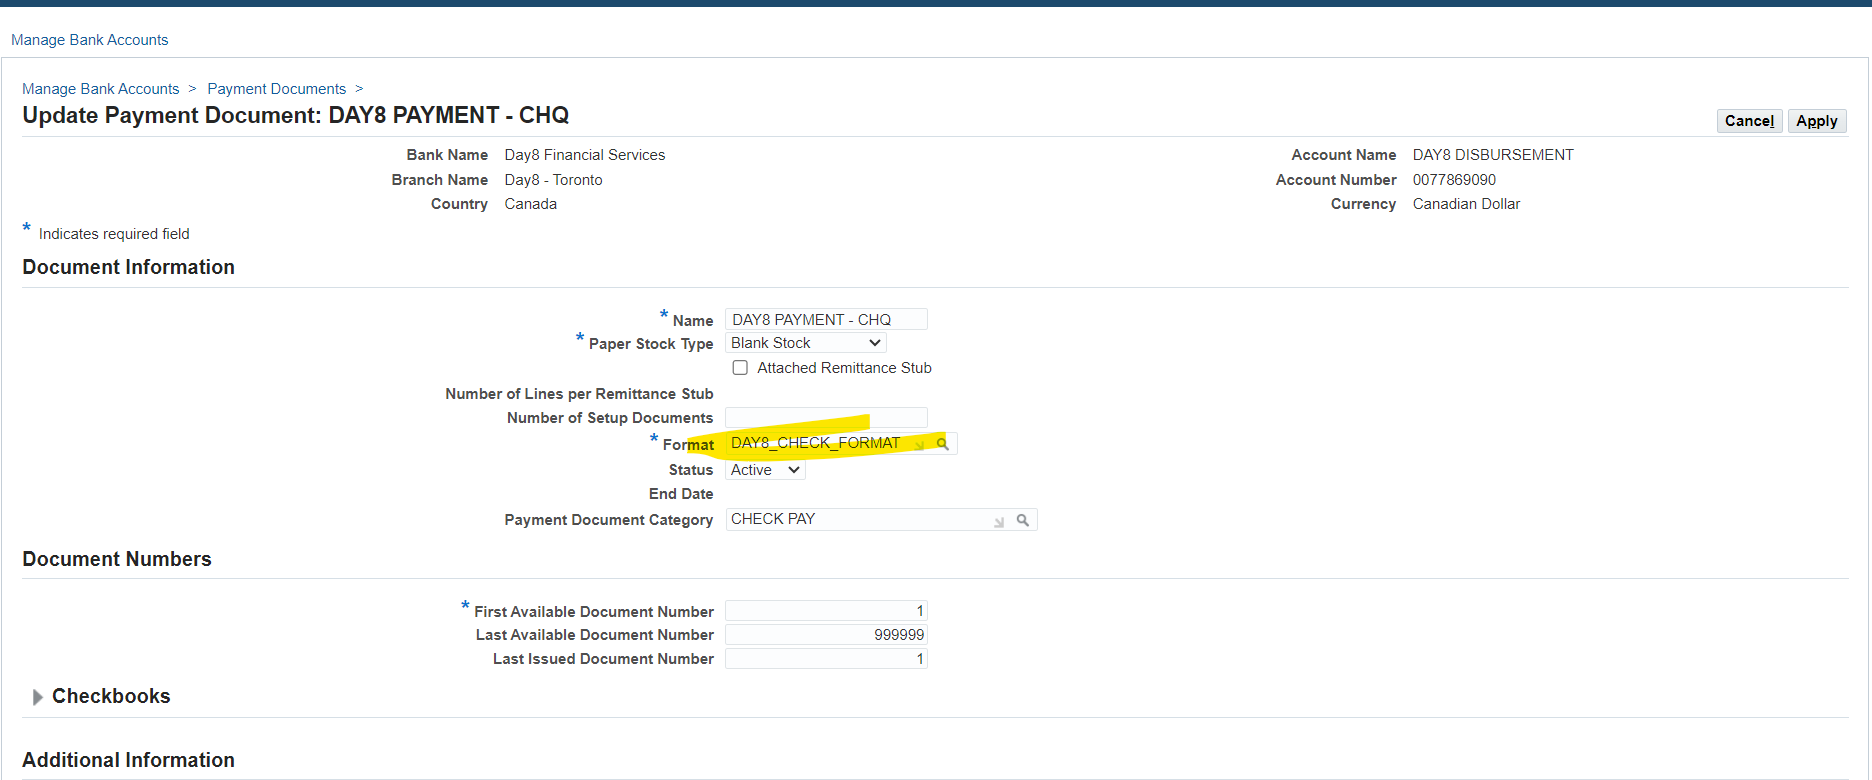
Update payment format
Now test new payment format to make sure all setups are working
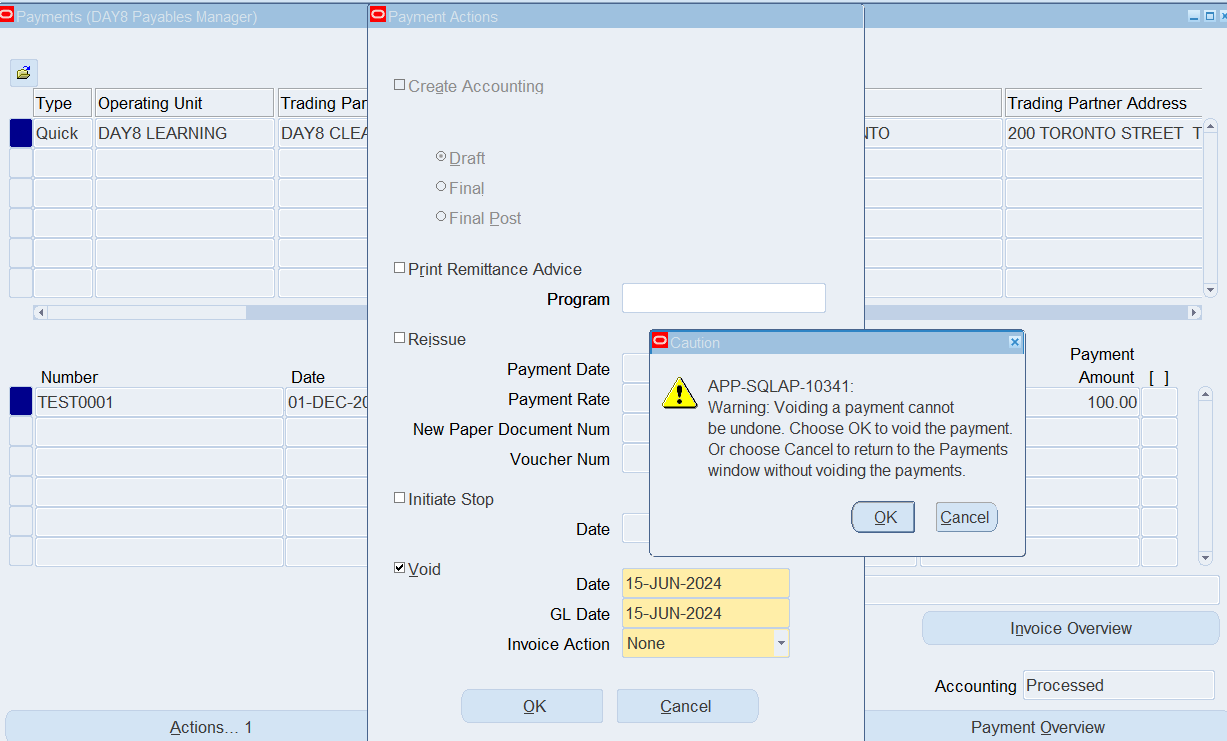
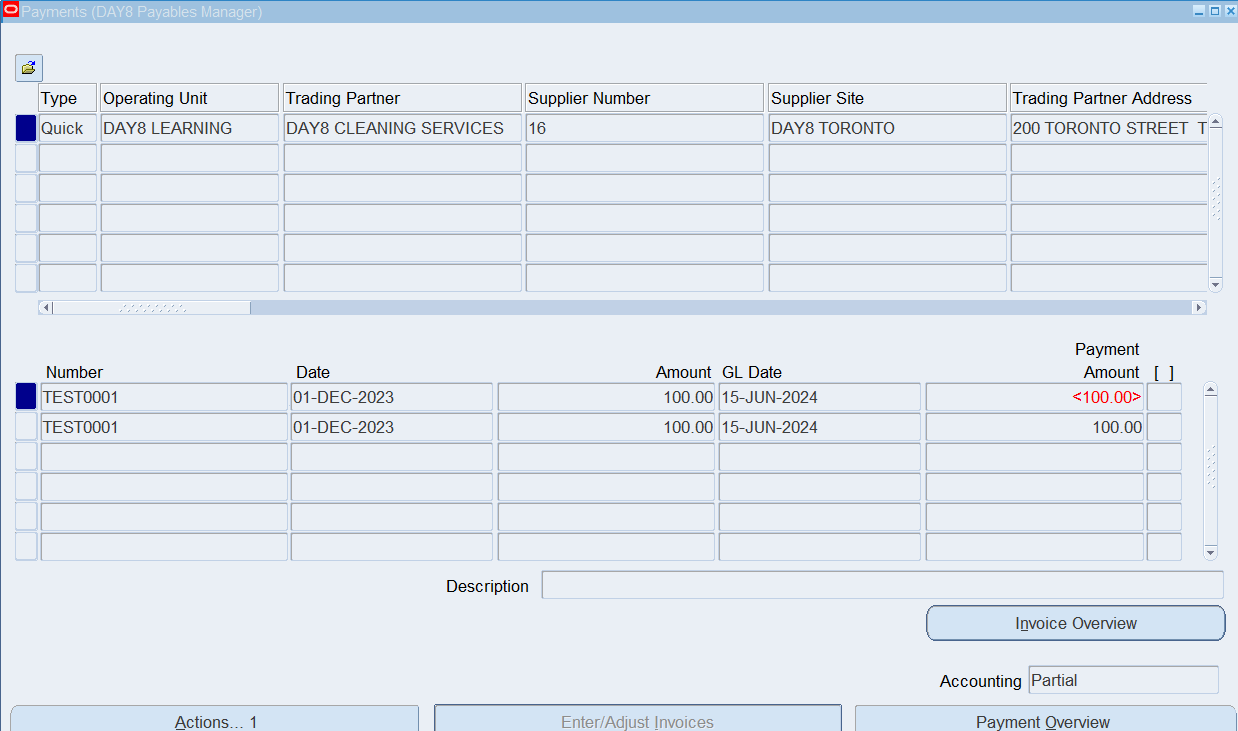
Cancel earlier payment
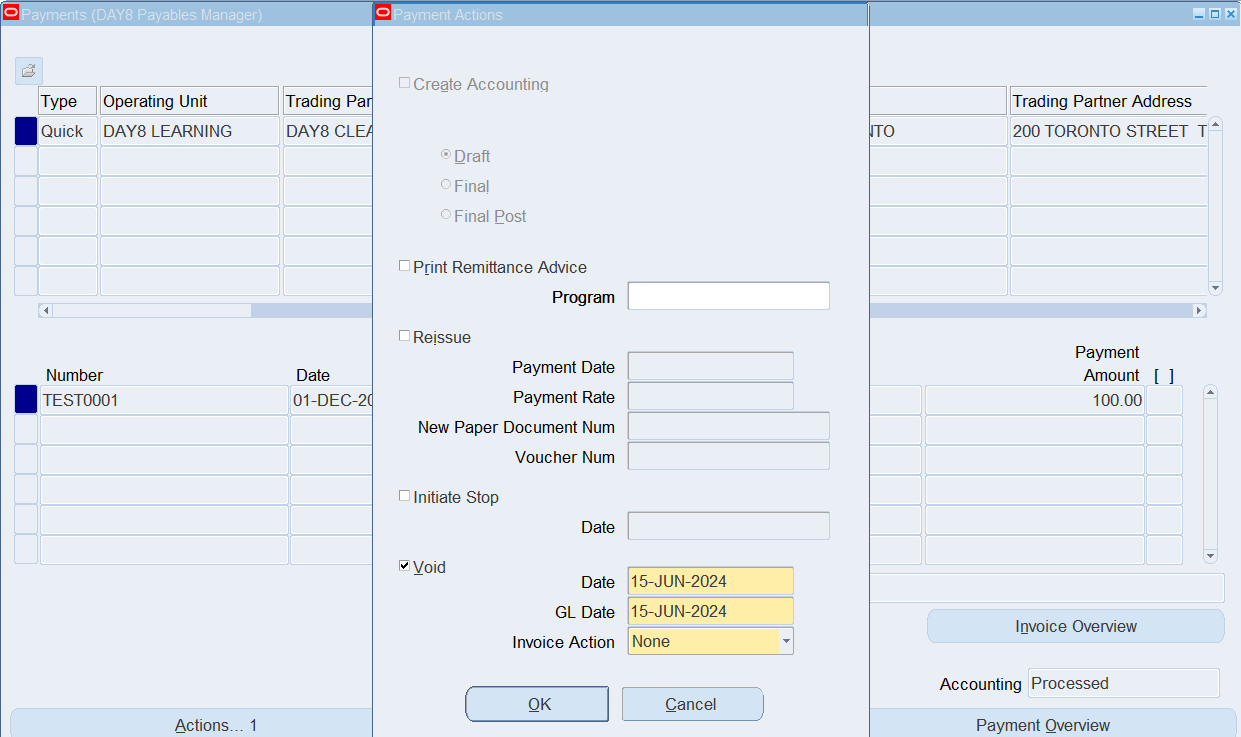

Bank Account auto select payment document and payment process profile
